Achieving Body Image Goals with CoolSculpting®

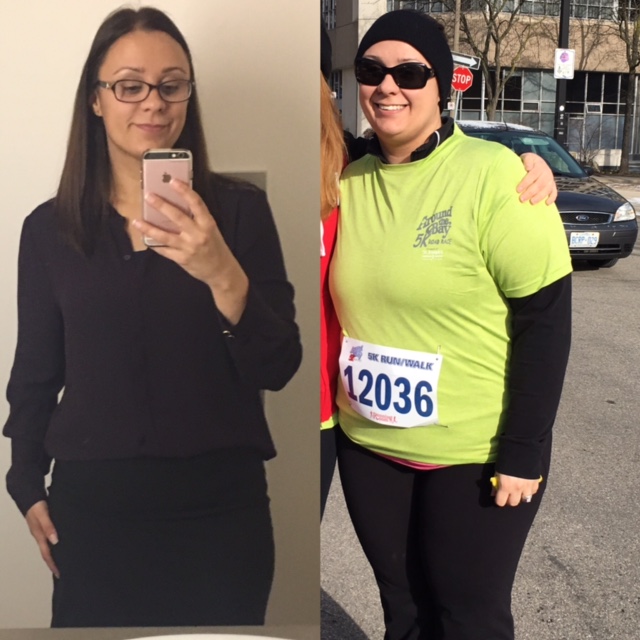
I have worked extremely hard to reach my fitness and body goals and while I am happy where I am, it is important to constantly watch my nutrition and fitness and re-evaluate my goals every few months. Even with constant monitoring of my nutrition through apps and working out at my gym, it can be quite difficult to reach those final fitness goals, or a few pounds can easily creep back on (especially around holidays that just passed and stressful periods at home or at work) or even those areas that just won’t respond to exercise. There are many of us who have stubborn pockets of fat – this is common and normal but unfortunately no matter how hard we work out both at the gym and in the kitchen, these areas will not go away.
I shared with you my weight loss journey and my initial consultation at The Plastic Surgery Clinic in Mississauga to discuss CoolSculpting®. CoolSculpting® is a non-surgical procedure that targets those areas where so many of us have difficulties in losing the fat (like our stomach, arms, flanks, etc…).[i]
For
myself, I have areas of stubborn fat cells as well as excess skin from my
weight loss. In my consultation with Linda we discussed my goals, areas of
concerns and with her expertise came up with a treatment plan that addresses my
problem areas but was also realistic. CoolSculpting® works by gently cooling
targeted fat cells to induce the elimination of fat cells to help sculpt your
body – but you’ve also got to be realistic about your body goals.[i]
While I was excited for my first treatment, I have to be honest and admit that I was a little nervous. I had so many questions running through my mind:
“Will the procedure hurt with how cold it gets?”
“Will there be bruising?”
“Will I have to adjust the rest of my day or can I go straight back to work?”
“Do I have to do anything different after treatment to assist with the treatment?”
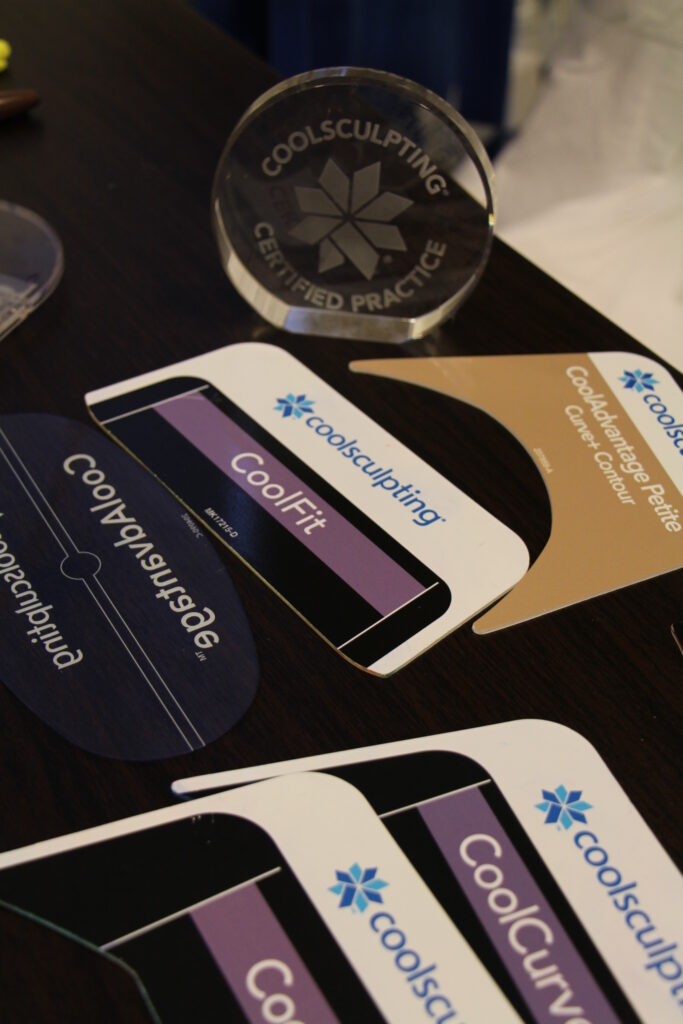
Linda helped address my anxiousness before I even vocalized some of my concerns. She showed me each applicator, how and why an applicator was chosen, the machine and the basics of how the procedure would work. The overview of the machine and the procedure, gave me that confidence I needed to start the treatment.

Linda had me undress (I was treating my flanks so I shimmied down into my underwear and sports bra – for those of you who are heading into your first treatment –make sure to wear something comfortable, loose and a sports bra is a must) and put on their disposable blue shorts. Using the CoolSculpting® markers and a washable marker, Linda marked the treatment areas on my flanks that she would apply the applicators too.
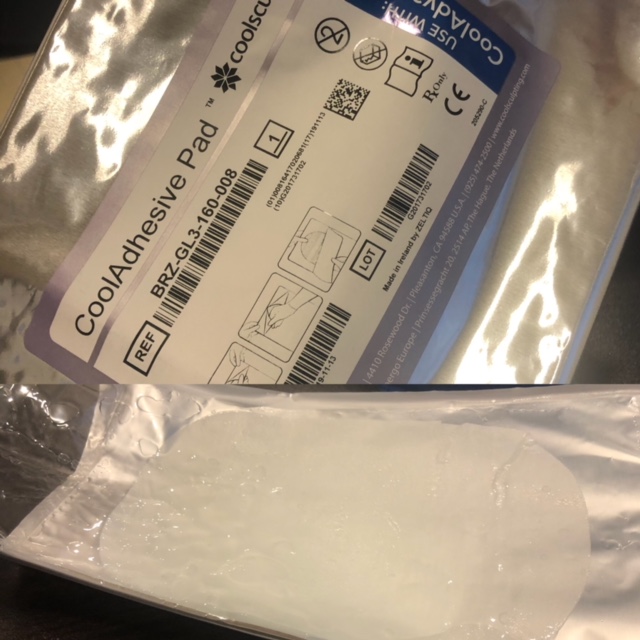
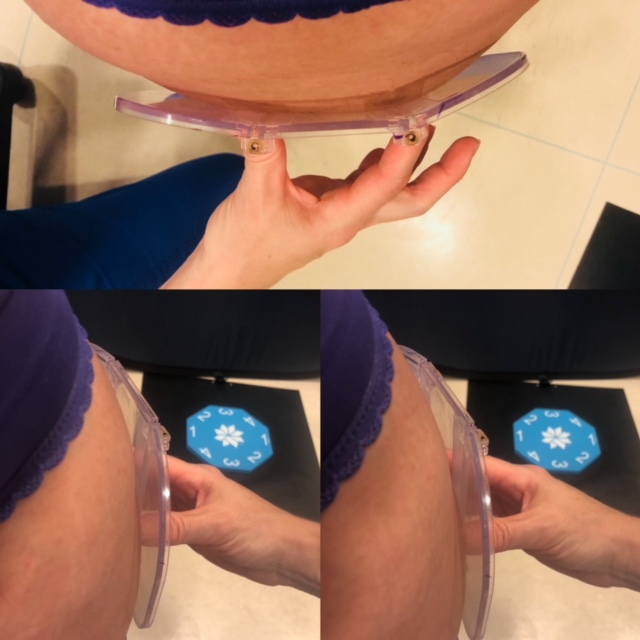
When my treatment areas were marked and I was ready to begin treatment, Linda applied a cool, gel-like material over the treatment area (CoolAdhesive Pad shown above). She explained that this was used to protect the skin during the treatment from the cold temperatures which reassured me that my skin would be protected during the entire procedure which was one of my fears. I was still quite nervous for what the cold temperature would actually feel like even knowing I had that protective layer in between my skin and the applicator. I am a huge baby when it comes to being cold (as I am typing this in my office, I have a foot heater on my desk blowing to keep me warm!) so you can imagine my fears!
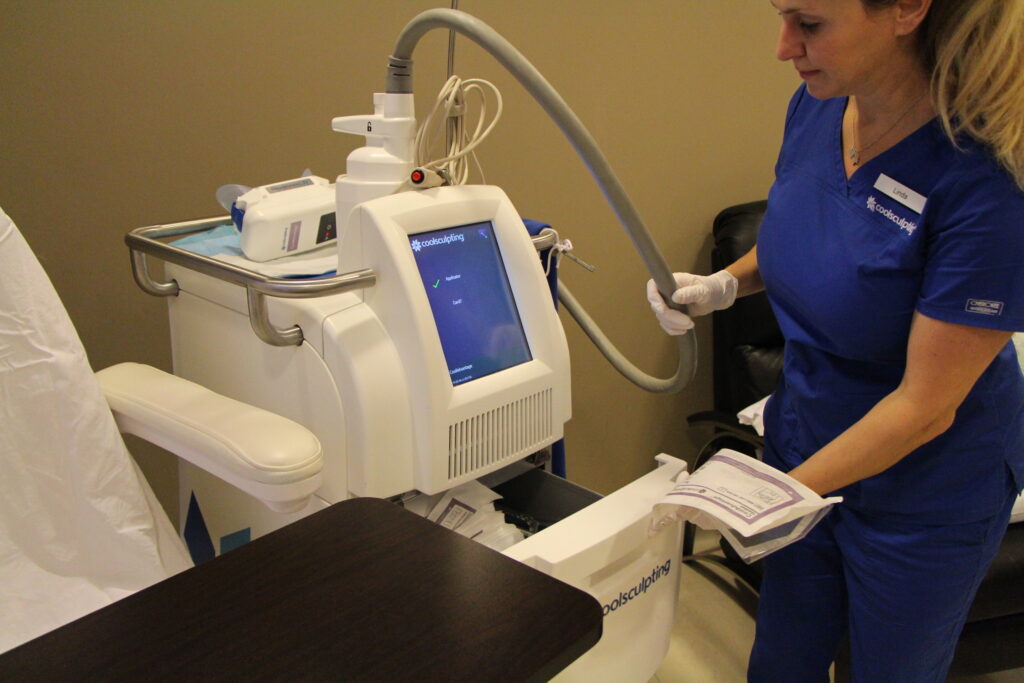
Linda applied the applicators one at a time with a few minutes separating each application. The applicators are placed on to the treatment area and a slight vacuum pressure is applied to keep the applicator in place. It was an odd but not painful sensation when it first suctioned onto my body and then I did not feel the suction at all afterwards. When she showed me how my fat looked inside the applicator, I was at first shocked – it looked like it should hurt but it did not. I was so nervous to make a sudden move and
knock the applicator off!
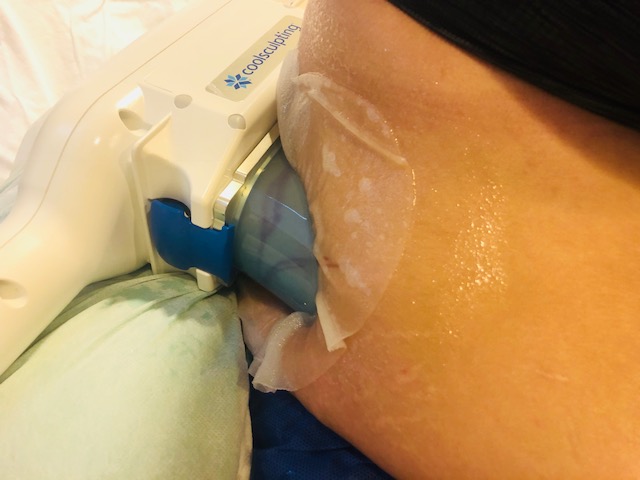
She then began the cooling process with the machine with a press of the button. It began to slowly cool my treatment area and I felt some tingling at first but this sensation quickly went away. It was cold at first but this cold sensation also went away within the first five minutes. I expected a little bit more of an ache or pain but I did not experience any of that, she explained that the area usually becomes numb quickly after treatment begins (please bear in my mind that every individual has different pain tolerances so the experience that I had may not be the same as yours). After a few minutes of the initial applicator cooling, Linda applied the second applicator.

Each of my treatment areas (a total of two) took a total of thirty-five minutes to treat. Linda worked to make me as comfortable as possible during the procedure which was no easy task as we were treating my flanks and I had to remain upright in the chair with a slight tilt forward. She placed a u-shaped pillow around my back and brought a desk around for me so that I could place my notebook and kindle on and I also used it for support. I was constantly worried that I would make an awkward move and pop the applicator off and wouldn’t even realize it or ruin my treatment session. She assured me that the system would alert her if the applicator moves and if this happened, the procedure would have to be started all over again as the machine will stop itself.
Once my time was up, Linda removed the applicator and brought over another machine that would massage the area.
After
the ‘massage’ I was free to go with my next appointment ready to be booked. My
skin was slightly red in the treated areas and felt cool to the touch but it
did not hurt. I had a slight numb feeling to the area but this was only to the
touch. I was able to hop back in my car and I drove right into work. I finished
off my work day and even attended my son’s soccer practice that night. I had no
pain, side effects or cramping feeling. The redness was gone about five hours
after the procedure. Before I left my appointment, I asked Linda if I had to do
anything specific to assist with optimal results and she noted that my body
would naturally remove the fat cells through an inflammatory response over the
next two to three months.[i]
Talk about music to my ears!

As a bonus, I am a Brilliant Distinctions Member which is a reward program for customers that use the following products: Botox Cosmetic®, Juvéderm®, Latisse®, SkinMedica® and Belkyra®. Each procedure earns you points that you can later redeem for savings on future treatments. I have used this to save on the treatments that I do more frequently like Botox and Juvederm but it would be a fantastic way to save on additional CoolSculpting® treatments. Treatment plans and prices vary per person, which is why it is so important to ensure you book a consultation to go over your specific treatment plan.

You may start to see changes in as early as three weeks after your CoolSculpting® procedure but results may take up to three months to become visible
I made a follow-up with Linda to review my treatment and discuss the next steps in two and a half months. I can’t wait to share with you my results after treatment, don’t forget to check back in after a few weeks to see my results!
Disclosure: I received the above-mentioned CoolSculpting® procedure in order to facilitate this review. All opinions expressed are my own.
[i] Klein KB, et al. Lasers in Surgery and Medicine 2009;41:785–90.
[i] Zelickson B, et al. American Society for Dermatology Surgery 2009;35:1462–70.
[i] Zeltiq Data On File. About CoolSculpting. 2017.
