April 2, 2015
Button Easter Egg Crafts

We decided for one of our Easter crafts this year, the boys and I would follow up on some of the Pinterest pins we had been pinning together and create a button Easter egg to place above the television in our living room.
This was one of the few Easter crafts that I had seen that looked not only simple (and it was!) but brightens up the room on a smaller budget. You can pick up all of the items needed at the Dollar Store (except for the glue gun) for all under five dollars! This was the perfect craft for us to do this week in preparation for Easter.
For this craft you will need:
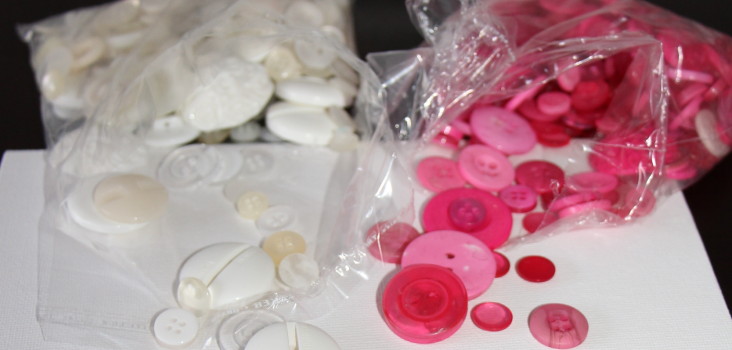
- buttons in your desired colour (I wanted to create a two tone egg so I chose pink and cream – definitely not the boy’s first choice in colours but Mom won this one!)
- glue gun
- white canvas board
Directions:
Design your egg on the canvas. I started by placing the buttons on the board in a design that I wanted. I originally wanted to create an egg that had a linear pattern alternating the pink and white buttons. I realized after putting the buttons on the canvas (or attempting to) that that was not going to work! So instead I decided to create an egg that was pink on one half and cream on the other.
After creating a design that you are happy with, it is time to start gluing! Carefully place some of the glue from the hot glue gun on the back of the button and apply it to the canvas board. Be careful to not get any glue on your fingers (my skill in this area has definitely not improved over time).
I loved how our Easter egg turned out in the end. What I realized after I finished gluing on the buttons was that the cream coloured buttons blended in to the canvas board too much. I wish I had painted the canvas board a dark black prior to gluing on the buttons. It was a lesson well learned though!
What kind of Easter crafts are you up to this week?


