I love winter – the snow, the variety of outdoor activities and just the natural beauty of the season. The only thing I don’t love is the how dry my skin becomes in the winter. It is a constant battle to keep my skin moisturized and looking healthy.
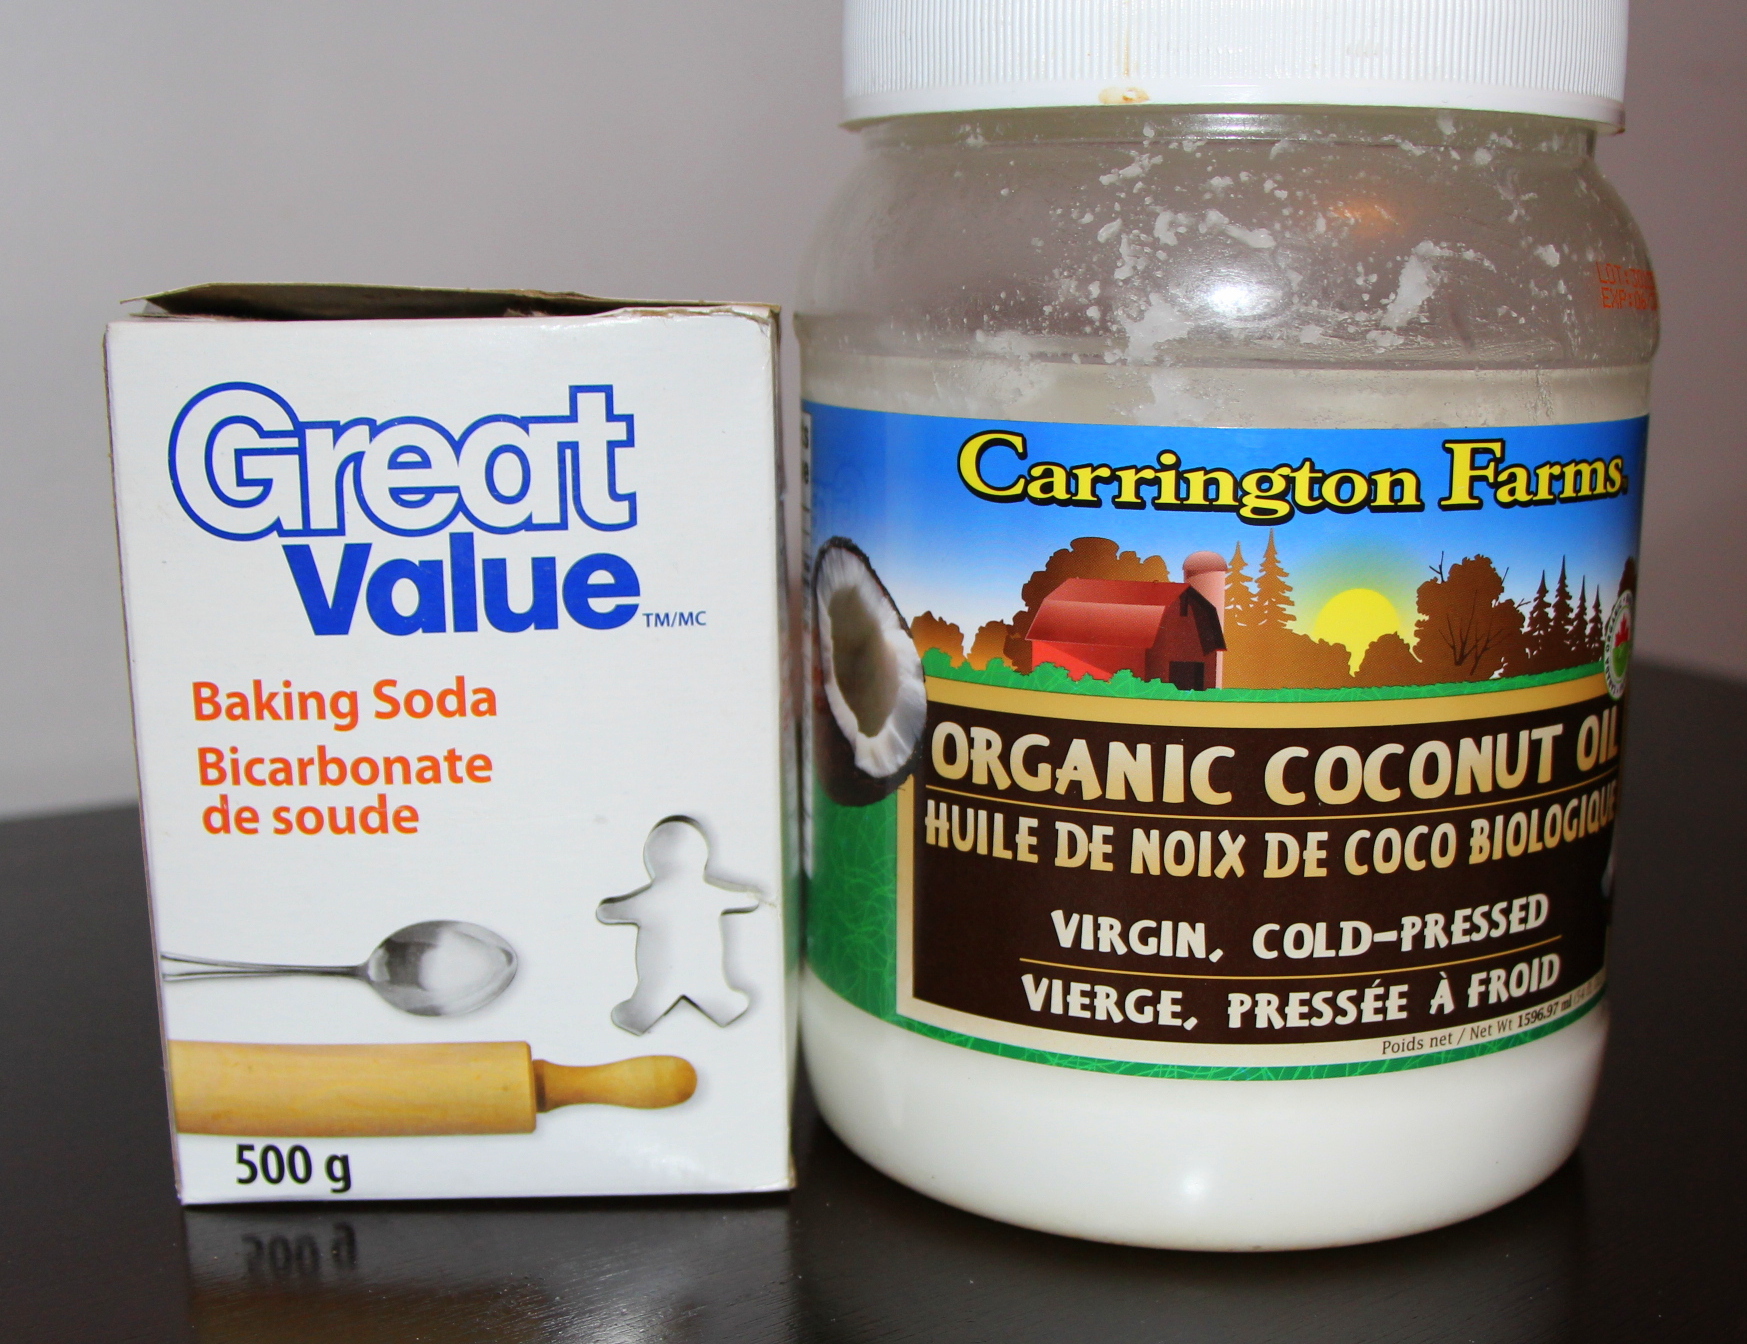
My eczema forces me to be extra careful with the products that I put on my face. There is nothing worse than using a new scrub and instantly my cheeks turn red and look raw. This moisturizing facial scrub uses products that you can easily find in your pantry including my favourite item – coconut oil!
You will need:
3 tbsp of coconut oil.
3 1/2 tsp of baking soda
Directions
Measure out the 3 tbsp of coconut oil.
Melt the coconut oil into its liquid form if not already in this state.
Add 3 1/2 tsp of baking soda into the coconut oil and mix thoroughly.
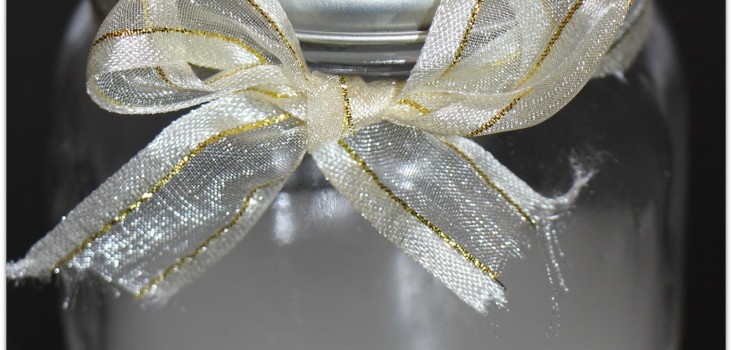
Pour mixture into a small mason jar and secure tightly.
You only need a small amount each time to cover your face. Rub the facial scrub into your skin in gentle, circular motions.
I like to leave the facial scrub on for at least three to five minutes to allow it to absorb and achieve maximum results.
Remove the facial scrub with a warm cloth. You will need to use a cloth to remove the facial scrub because of the coconut oil.
Do you have a favourite homemade facial scrub? Maybe a special ingredient that you like to use? I loved using the baking soda as it wasn’t as harsh on my skin as sugar and other ingredients can be.
This shop has been compensated by Collective Bias, Inc. and its advertiser. All opinions are mine alone. #CollectiveBias
Craft time is one of the best ways to fit in quality family time. A time to be silly and to experiment with new ideas and let the kids just be themselves. The holiday’s are a perfect time to get in some extra crafts and Valentine’s Day is no exception in our home. Each year we try to design a new craft – something different and unique for our family.
Since dinner time is important in our family (nothing beats that kind of bonding time!) and we have just recently started eating out in the dining room with our wedding dishes we thought a craft for our table would fit our family the best. Our table, while looking pretty with all the good dishes on it, was just looking plain:
Boring right?
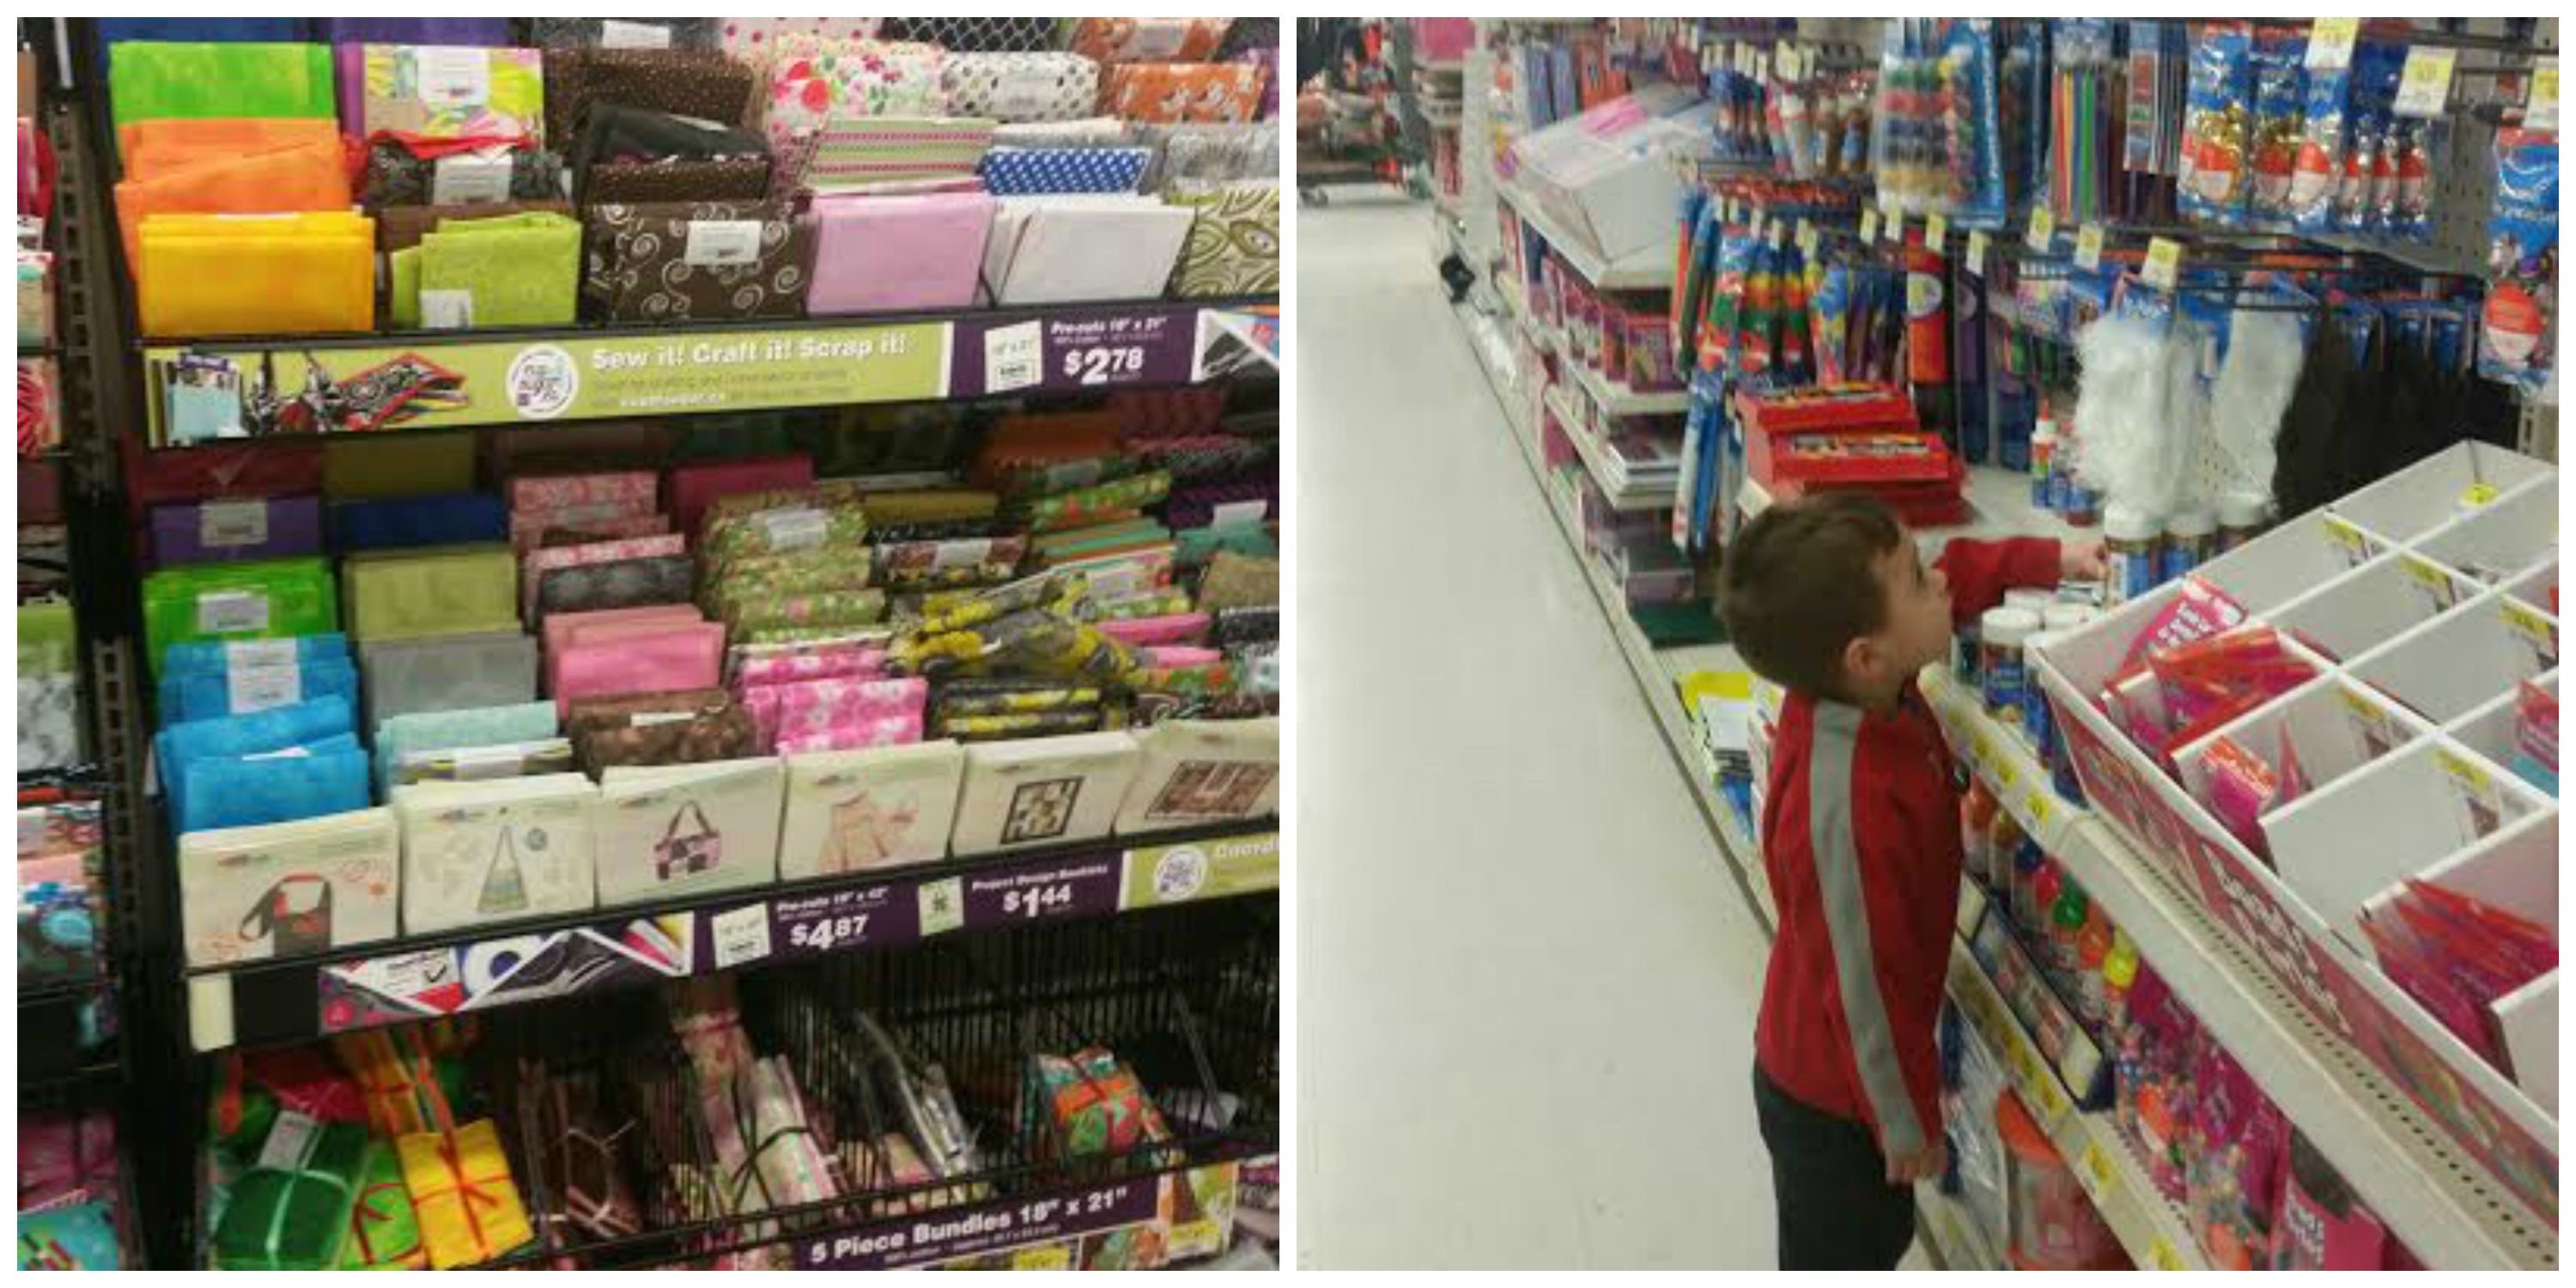
So we thought, what better way to spice up our table than with Valentine’s Day themed centre pieces! We envisioned candles, candy, vases and with this in mind we headed out to Walmart to find some key pieces for our centre piece.
While I was checking out vases and supplies, our youngest son had the time of his life in the children’s crafting aisle – he would have fully stocked our cart if he was allowed to!
For our Valentine’s Day centre piece craft we purchased (and you will need to purchase to replicate!):
two medium-sized candles and one large candle
two small square vases
fabric in a colour of your choosing
cinnamon hearts
glue gun and sticks
white rectangular candle holder (we actually used a white appetizer tray for our craft!)
heart stickers
Valentine’s Day themed ribbon
clear wrapping paper
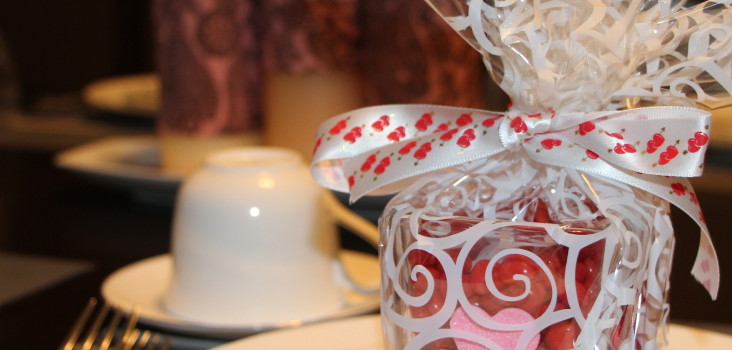
Start first with the small glass vases (since this was our kid’s favourite part!). Choose which stickers you want to apply on to the glass and apply the stickers directly onto the glass. Fill your glasses with the cinnamon hearts. Wrap them up with the clear wrapping paper and tie off in a bow with the ribbon.
Cut the fabric into rectangular pieces. The length should be enough so that the fabric will stretch around the candle once and just slightly overlap.
Using the glue gun, glue the under side of the left side of the fabric onto the top part of the right side of the fabric. Make sure that you are pulling the fabric tightly to ensure that it does not slip off the candle. Word of advice – don’t apply the glue from the glue gun directly onto the candle (yes, I can admit it – I made this mistake and completely blame the lack of coffee and pure exhaustion). Also be careful with those fingers! I managed to apply the glue directly onto my fingers – ouch!
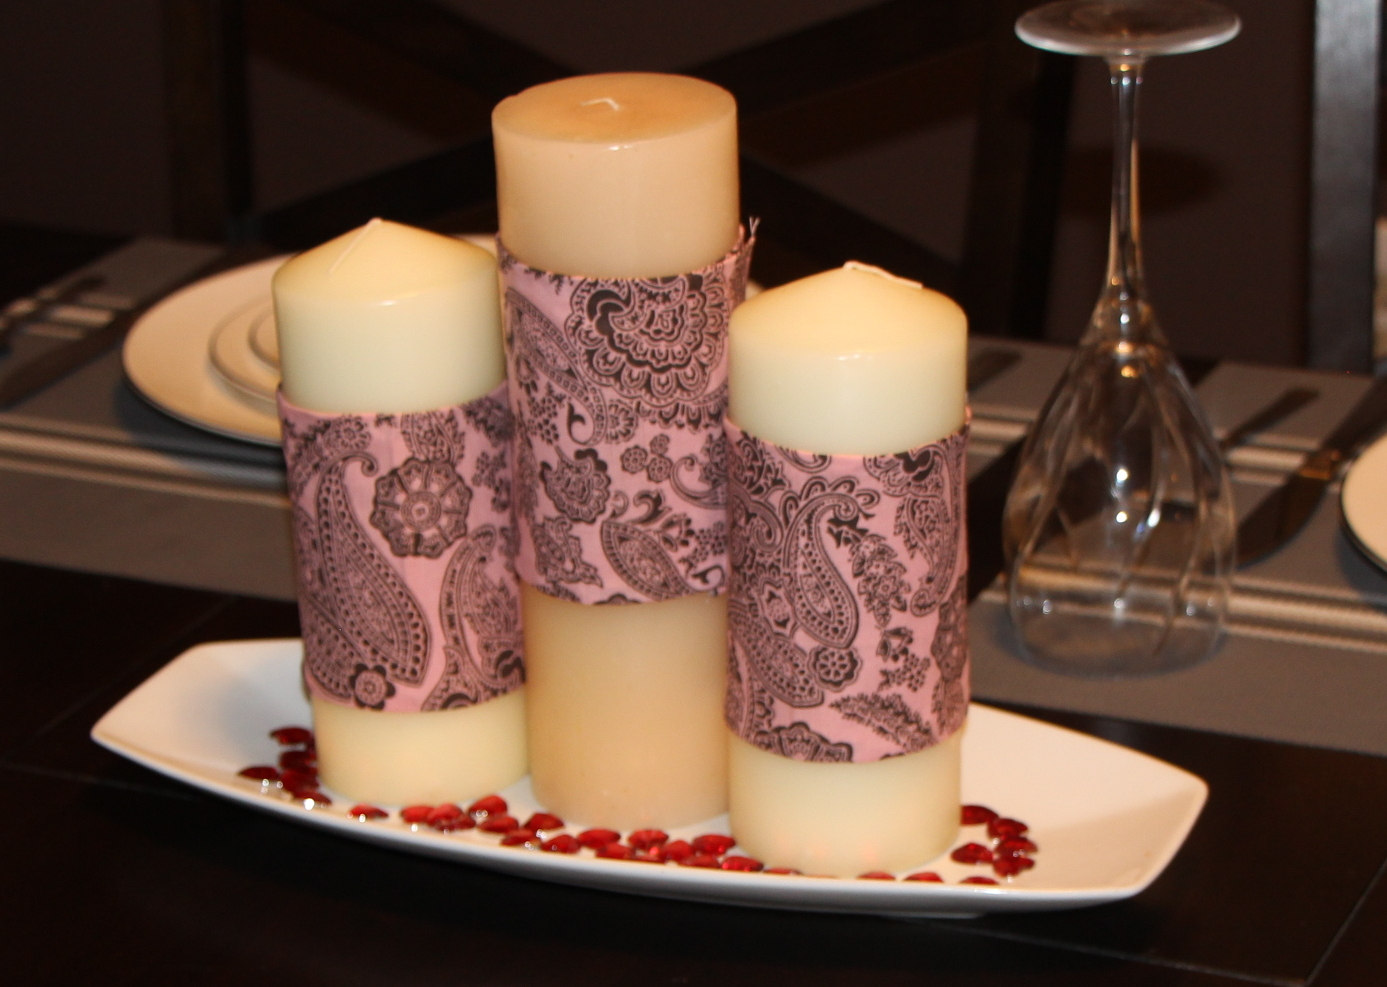
Now comes the best part – arrangement!
Place the three candles onto the white candle holder (or in our case the app tray). Place hearts around the candles.
Voila! A beautifully Valentine’s Day themed decorated centre piece. The best part is that it can be changed and updated when the season changes.
Because the children in our life play such an important role in our life and it is important to us to let them know we love them, we decided to use the vases as a place setting. We put each vase on the children’s plate and it was a wonderful companion to our centre piece and the kids loved their extra surprise.
How do you update your home decor to celebrate Valentine’s Day? Do you have a special craft that you like to make each year?
December 1st is just around the corner and every year we like to count down to Christmas Eve in a special way.
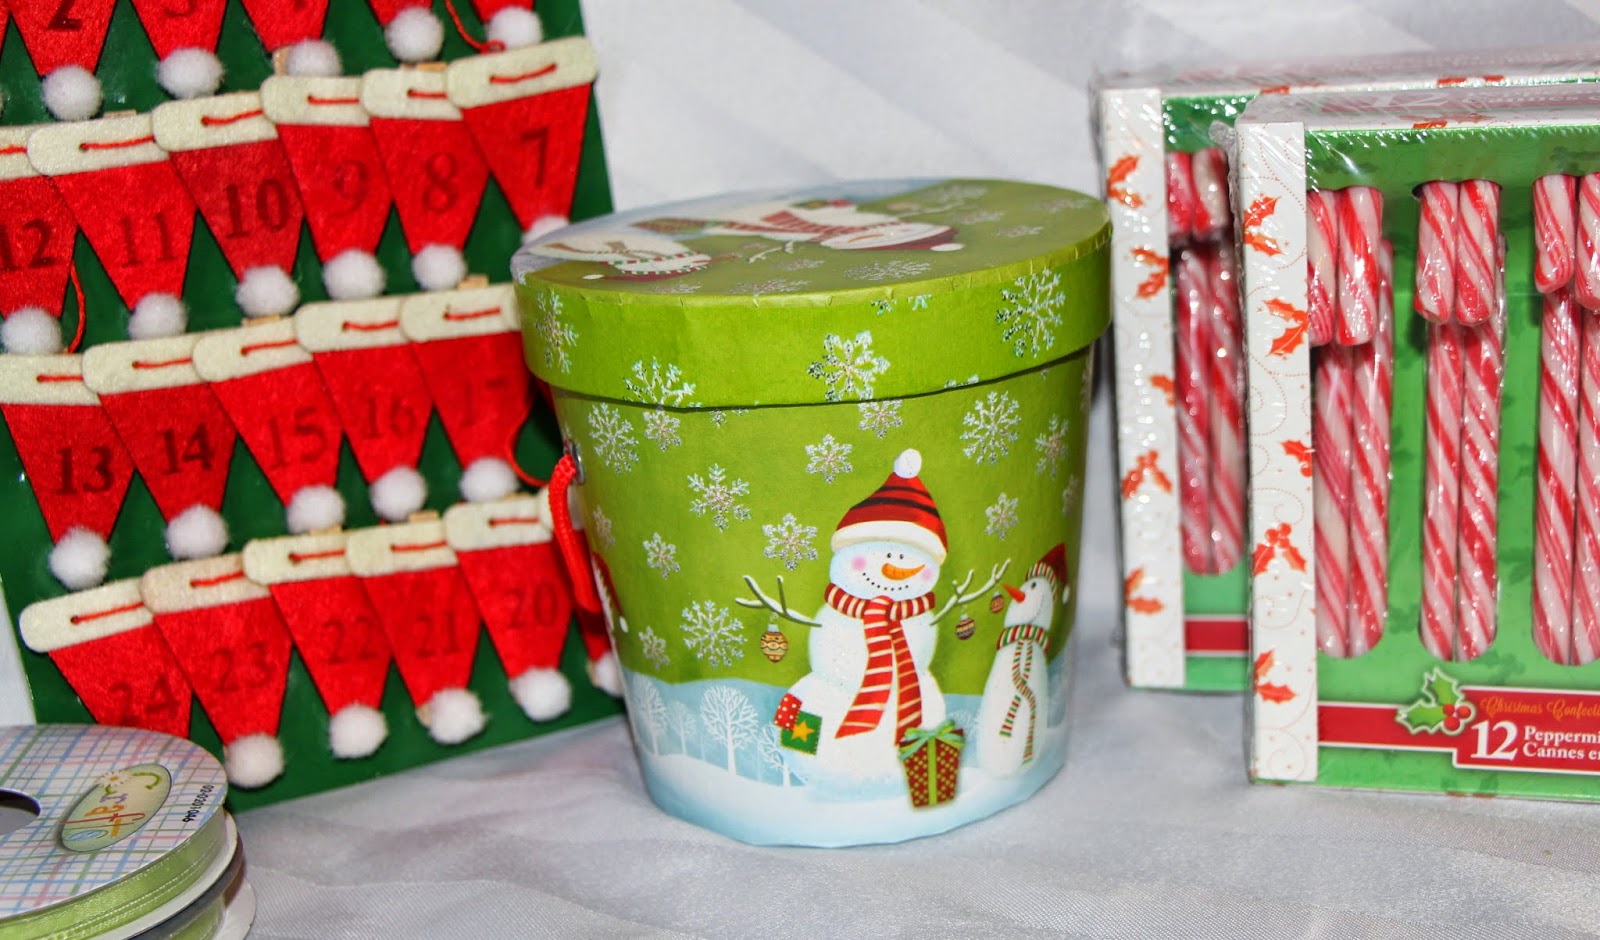
This year we made our own Advent calendar (along with their Kinder chocolate calendars – we can’t not have those ones!). We put together a list of all the activities we wanted to do together as a family before Christmas and began our new craft.
You will need:
Christmas bowl, basket or bucket
24 candy canes
white paper (or a colour of your own choosing)
ribbon
hole puncher
scissors
Directions
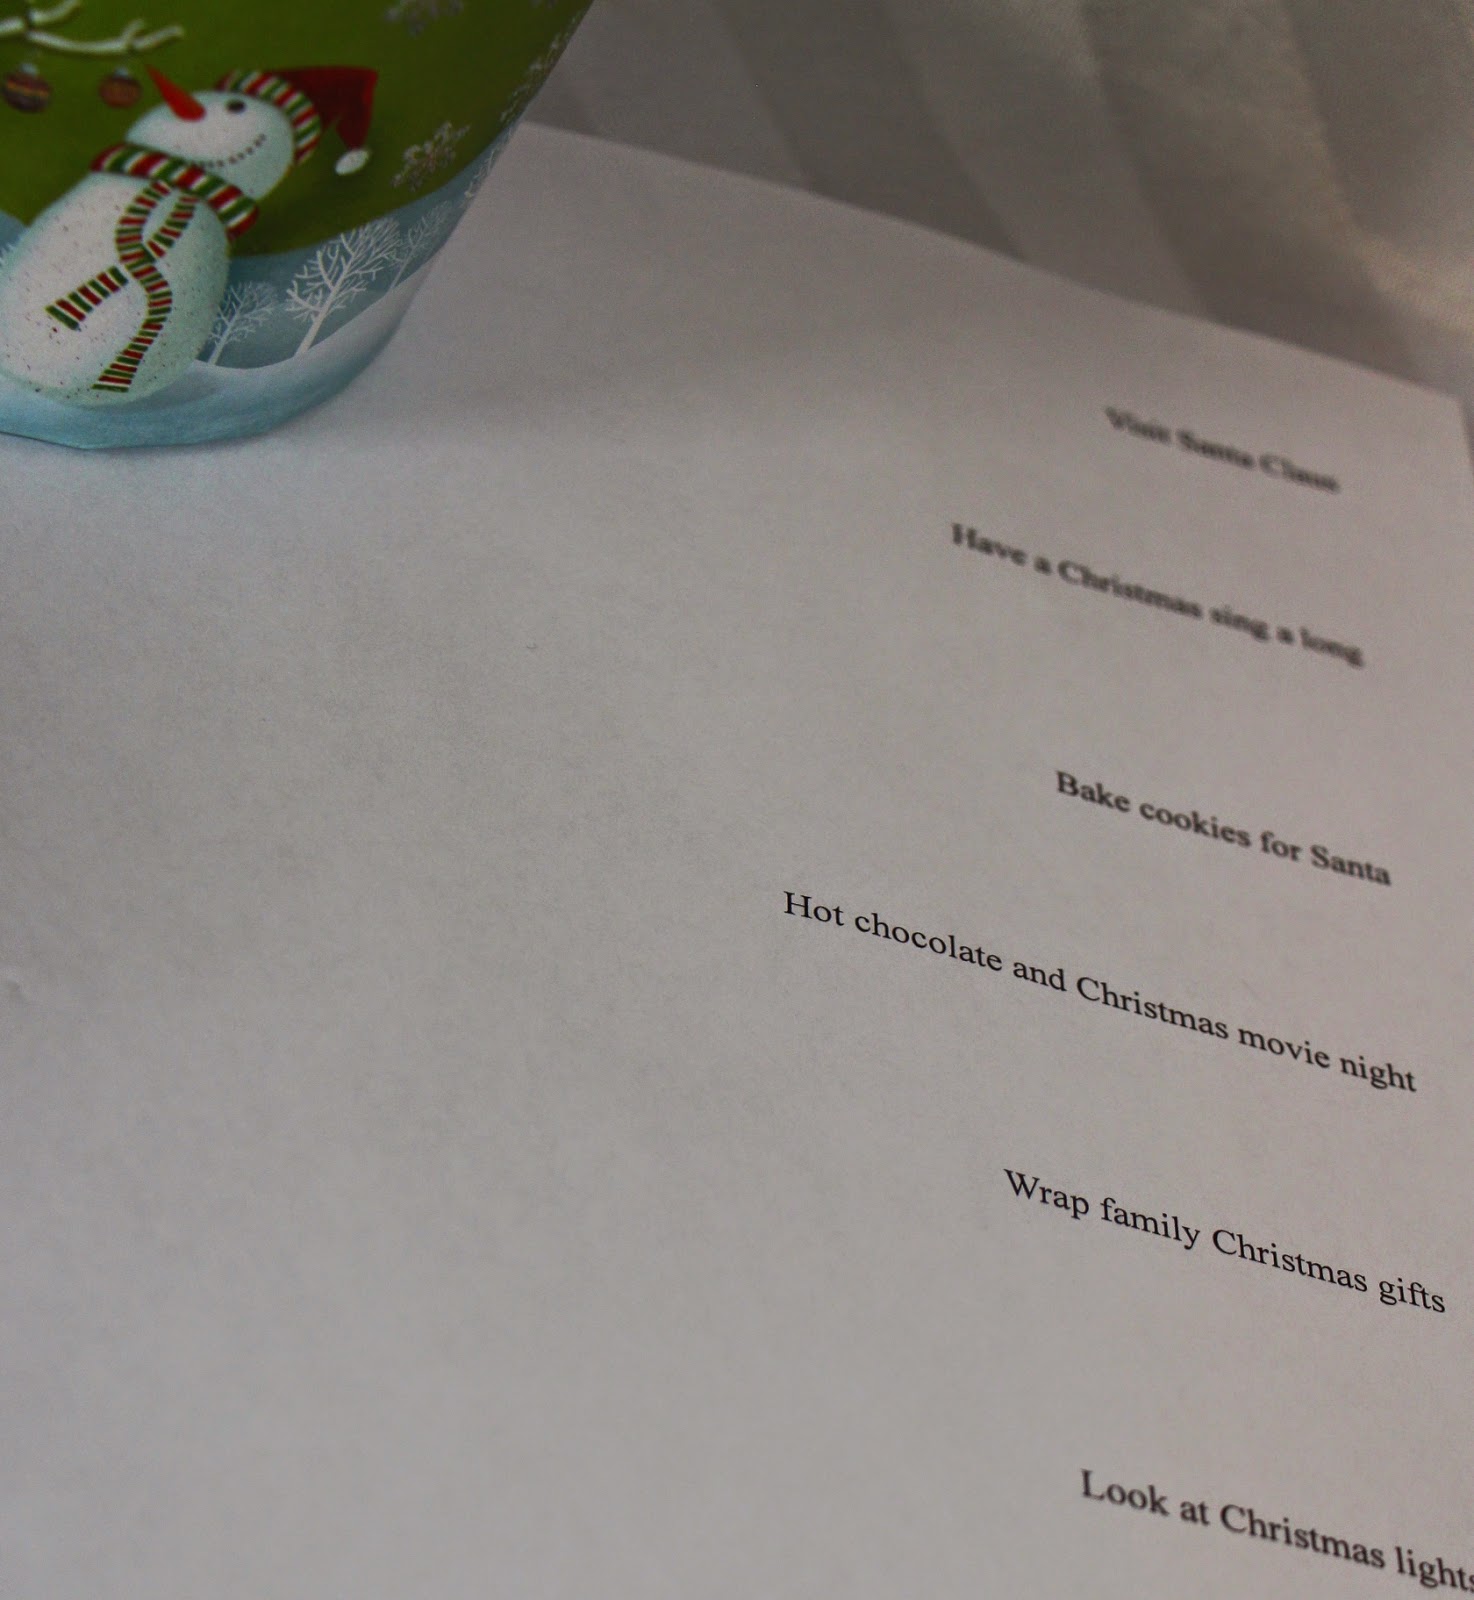
Print out your choice of daily activities for the month. Some of them we repeated (like the crafts, cookie baking and colouring).
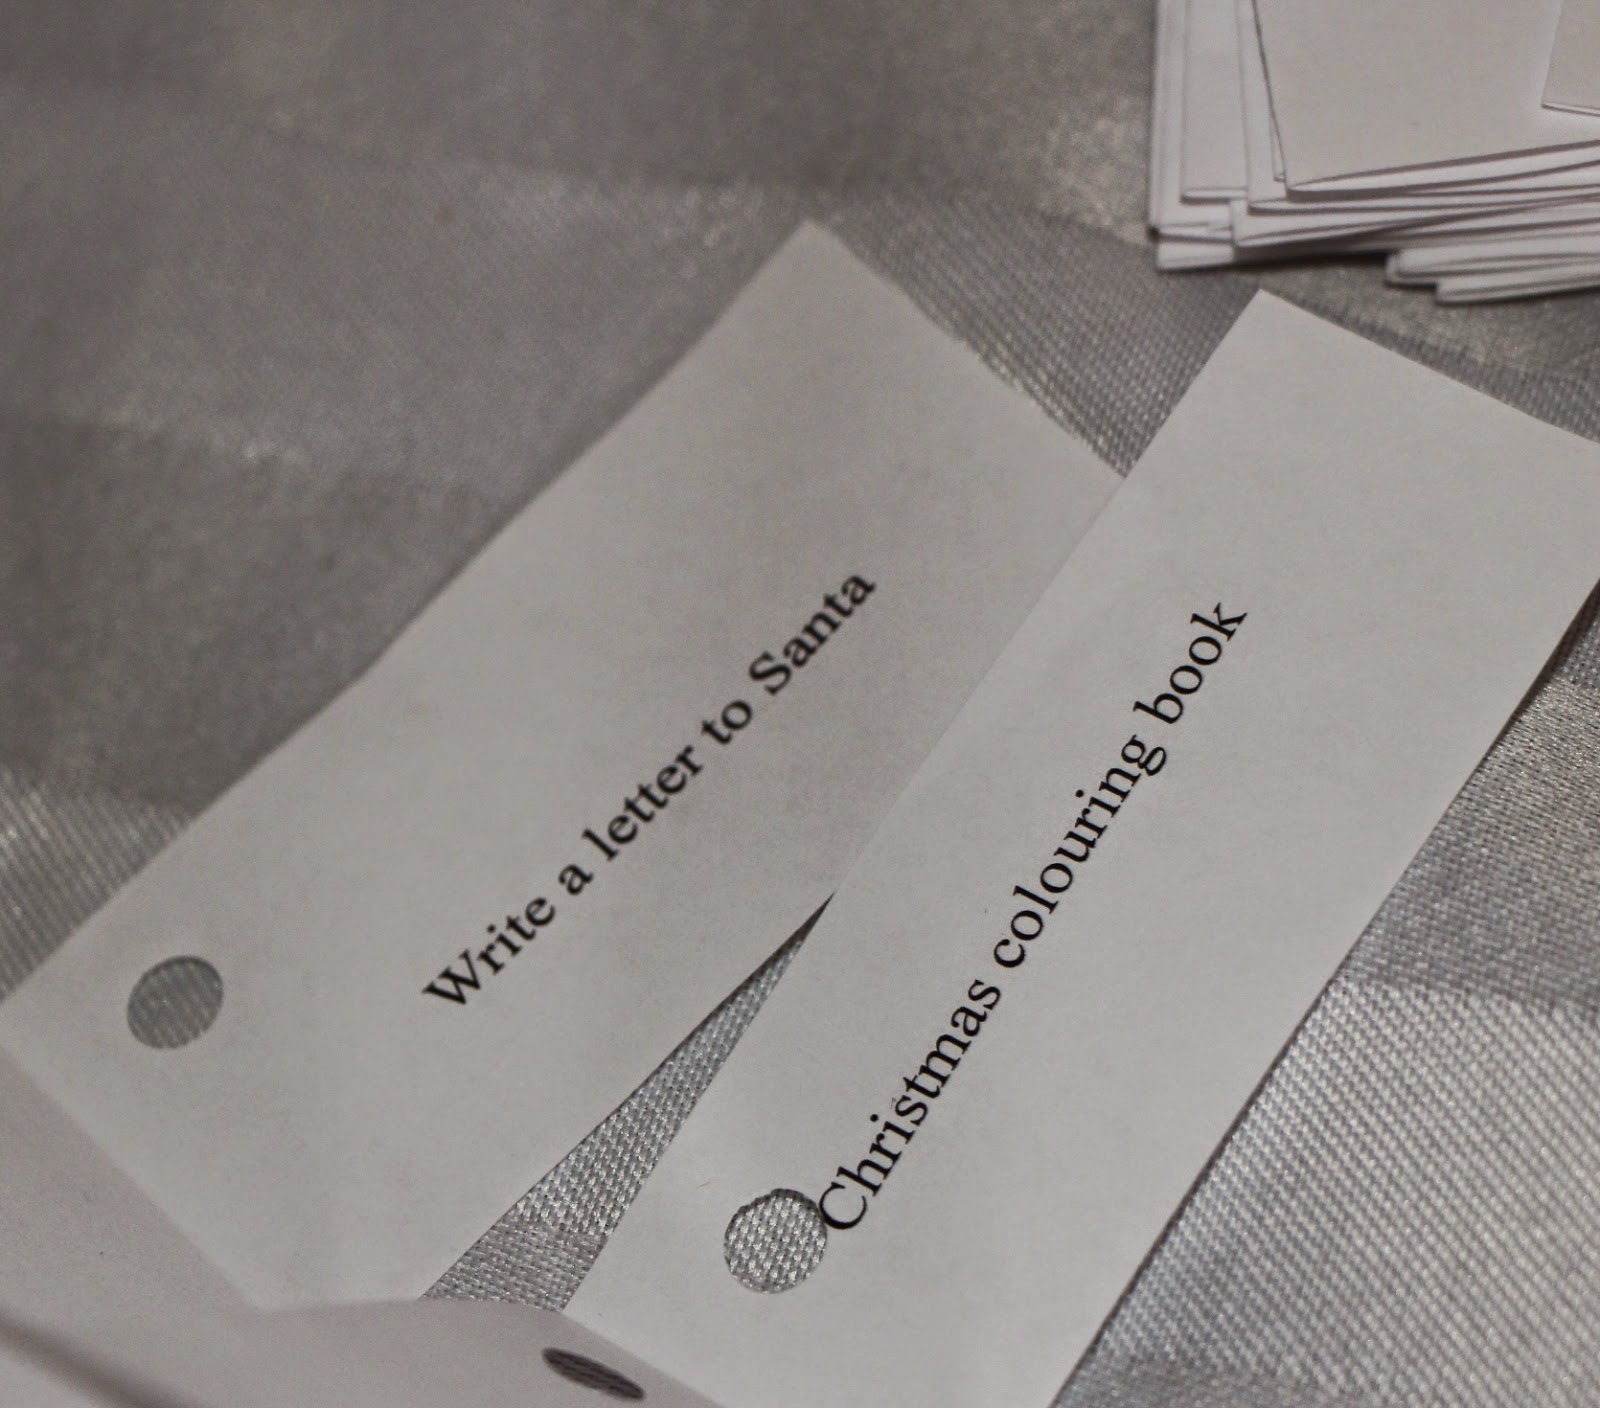
Cut out each item into a rectangular shape. Fold the paper in half. Using a hole punch put a hole in the top left corner.
Cut out twenty four equal lengths of ribbon.
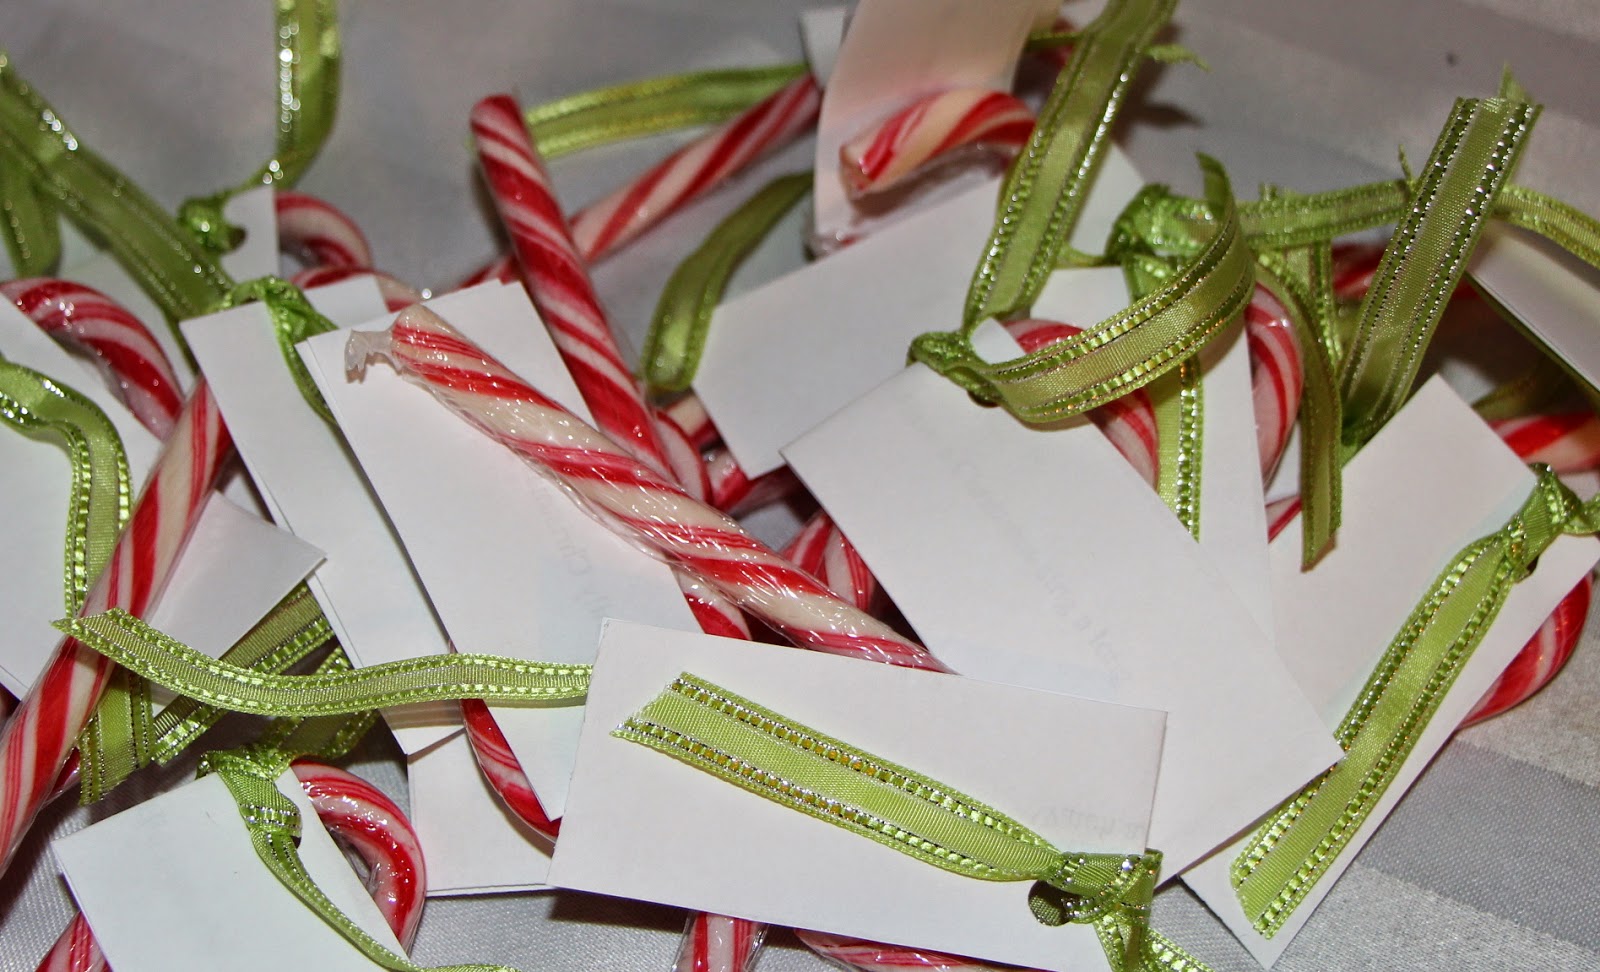
Thread the ribbon through each rectangular note and tie each one onto one candy cane for a total of twenty four times.
Number each note making sure you are being realistic with what you will be able to accomplish for each day of the month – we knew we wouldn’t be able to build a gingerbread house during the week so these activities were saved for the weekend.
After they are numbered place them decoratively in your bin or basket and display in a prominent place in your home.
Ideas for your family activities (we repeated a couple of these because they are so much fun!):
write a Santa letter and mail
make homemade tree ornaments
bake cupcakes
colour in a Christmas colouring book
watch a Christmas movie with popcorn
read Christmas books together
bake Christmas cookies
put together a Christmas gift for our teacher
build a gingerbread house together
visit Santa Claus
have a Christmas-sing-a-long
bake cookies for Santa
hot chocolate and movie night
wrap family gifts
put on a Christmas play at home
crafts together
Most importantly – have fun with your ideas! How do you like to count down to Christmas?
My children are growing so fast – every time I look at them it feels like they have grown another inch! We wanted to capture them in this moment and decided to make hand print keepsakes to display in our home. It was the perfect holiday craft for our family – quick and simple! The boys loved it because they were able to get their hands nice and dirty although trying to get them to not paint each other was fun!
You Will Need:
paint
paintbrush
canvas print (8×10)
8×10 frame
Using the paint colour your child has chosen (our boys wanted blue so blue it was) I painted their right hands applying a good amount of pain so that their hand was quite saturated with the paint.
One at a time, I took their hand and gently placed it on the canvas print. I gently put pressure on their hands to ensure the hand print would take to the canvas. You may have to help your little one to lift their hand back off of the canvas without smudging the print.
Allow the painting to dry, ours took roughly three hours to dry. I then placed it inside the 8×10 frame and hung it by our front door. Visitors love looking at their hands and this would be a fantastic gift for Grandparents!
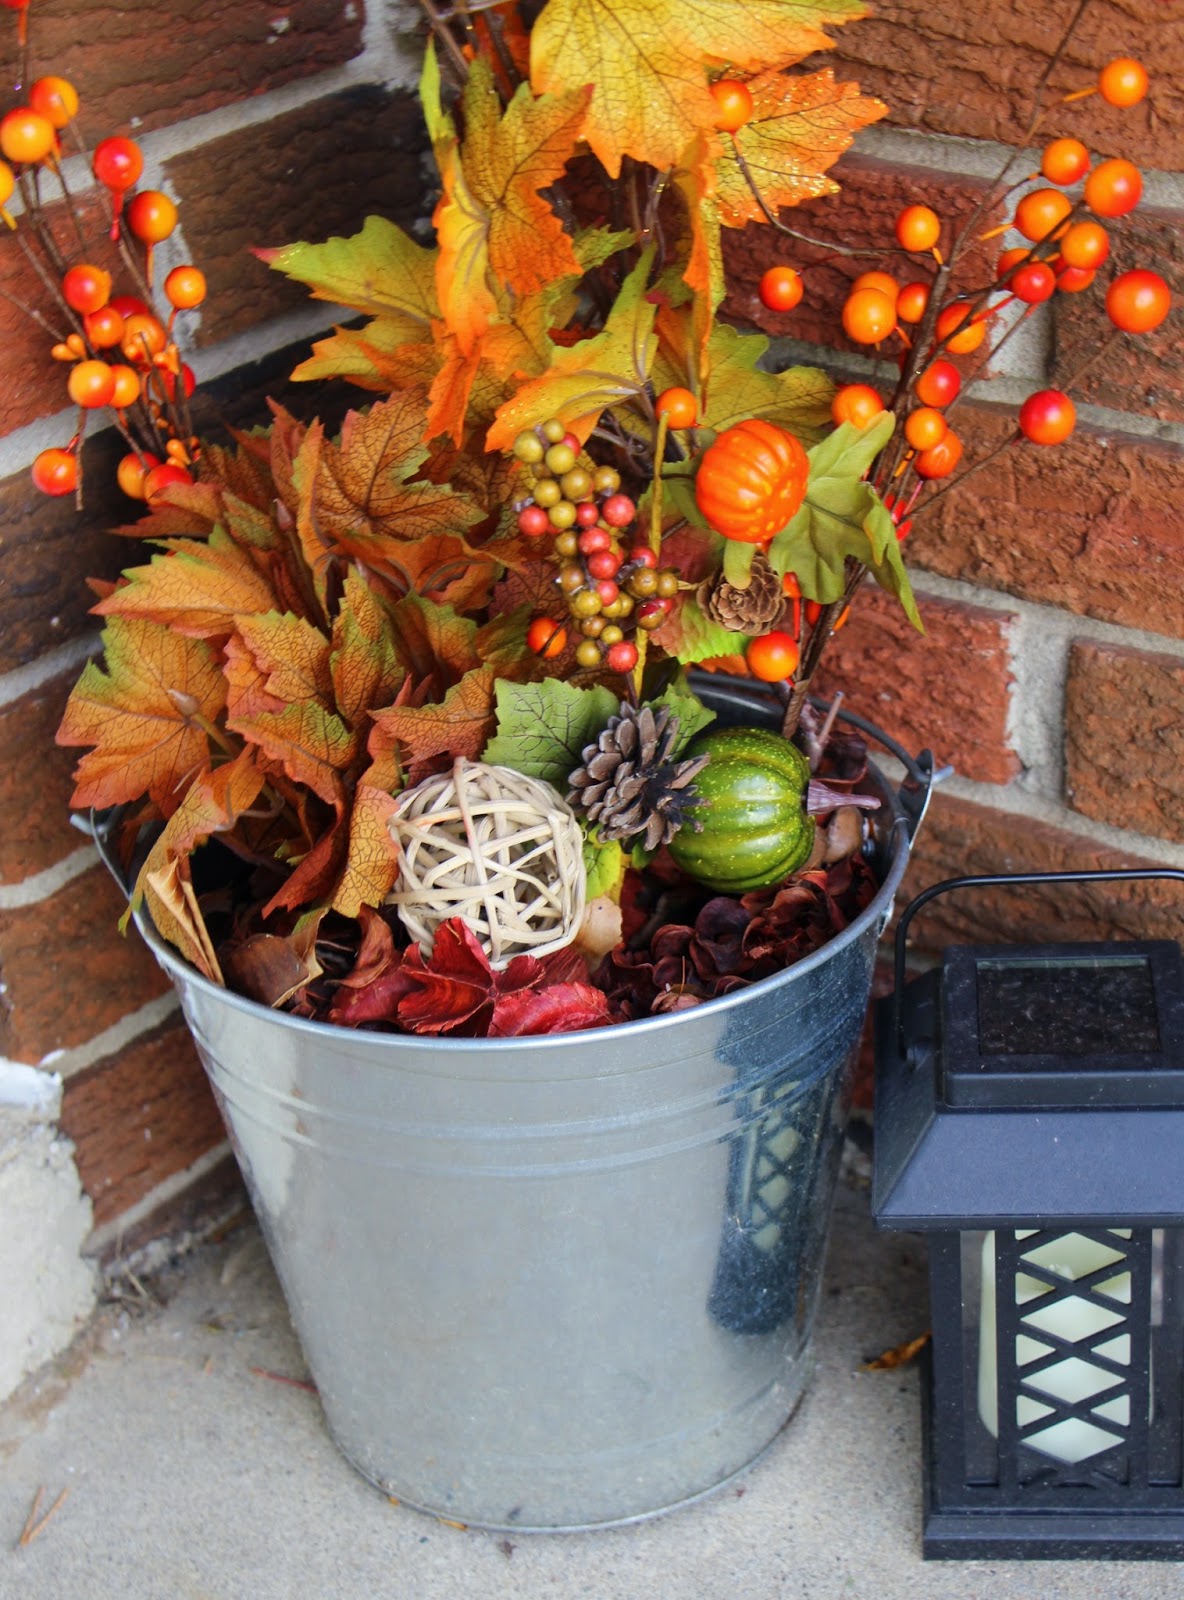
Remember that super easy front decor I posted about a couple of months ago? If not no worries – check it out here. Now that Fall has arrived I had to change it up and wanted to share it with you because I loved how it turned out!
You will need:
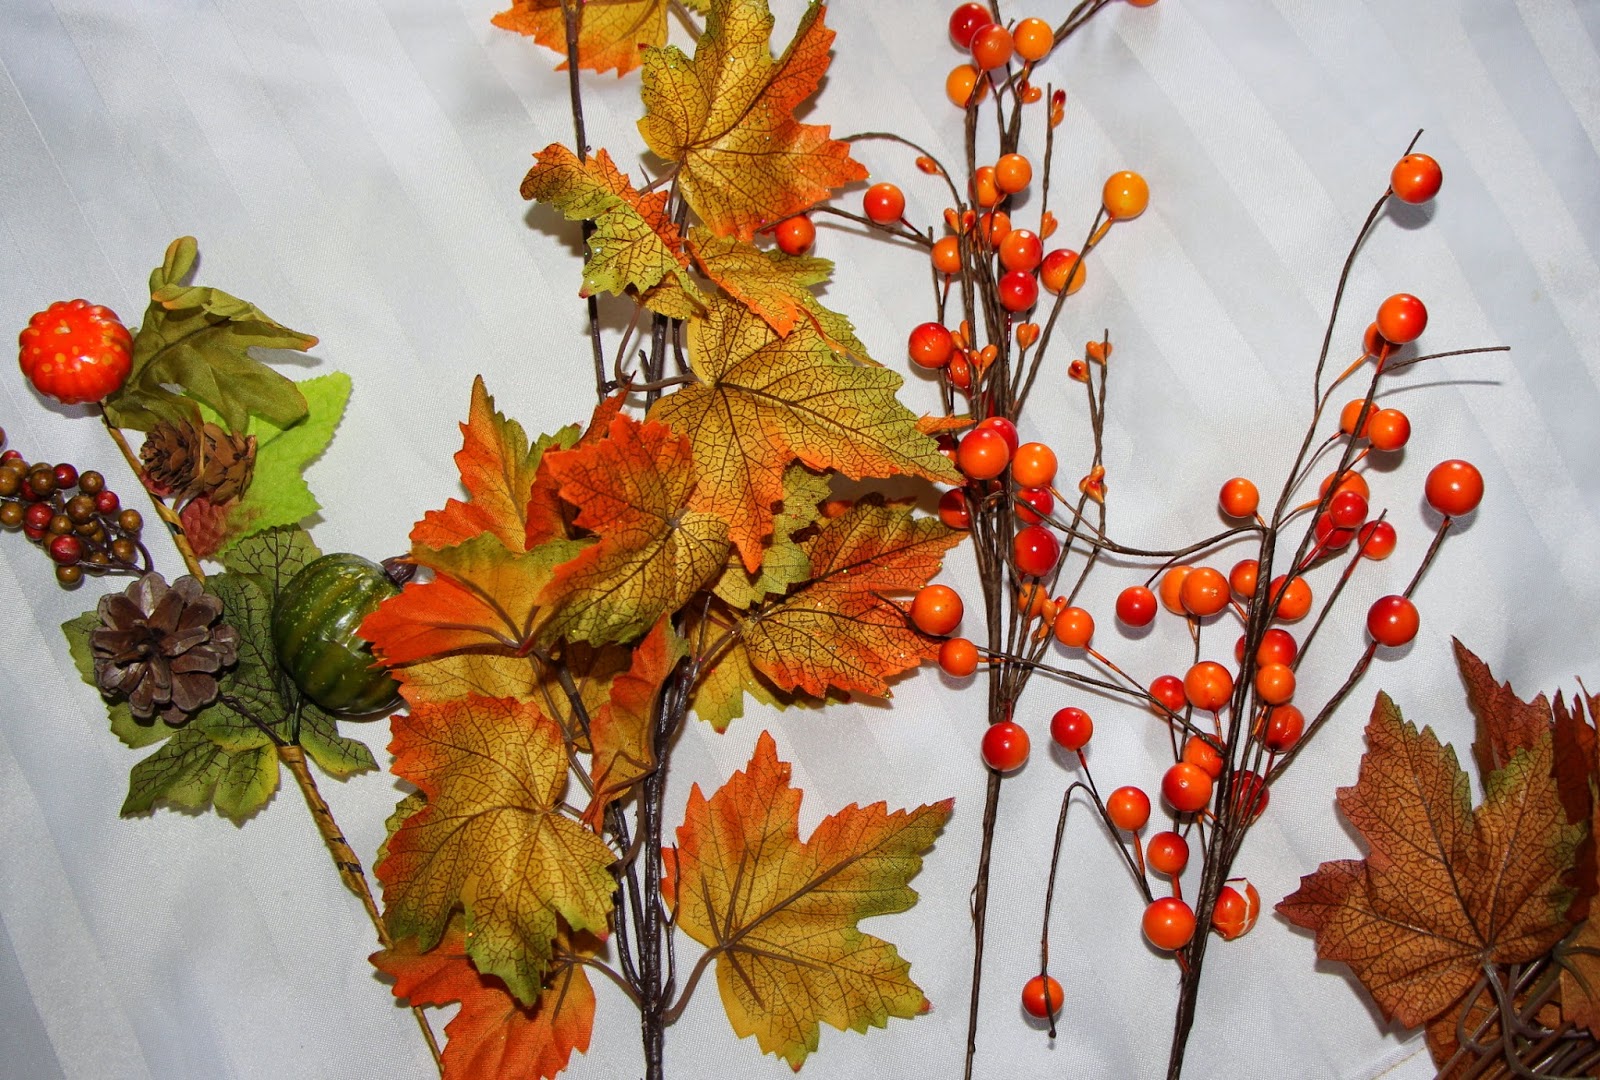
fall themed branches, pumpkins on branches (I picked ours up from the dollar store for $1.25/each)
metal bucket
foam that fits the bottom of the bucket
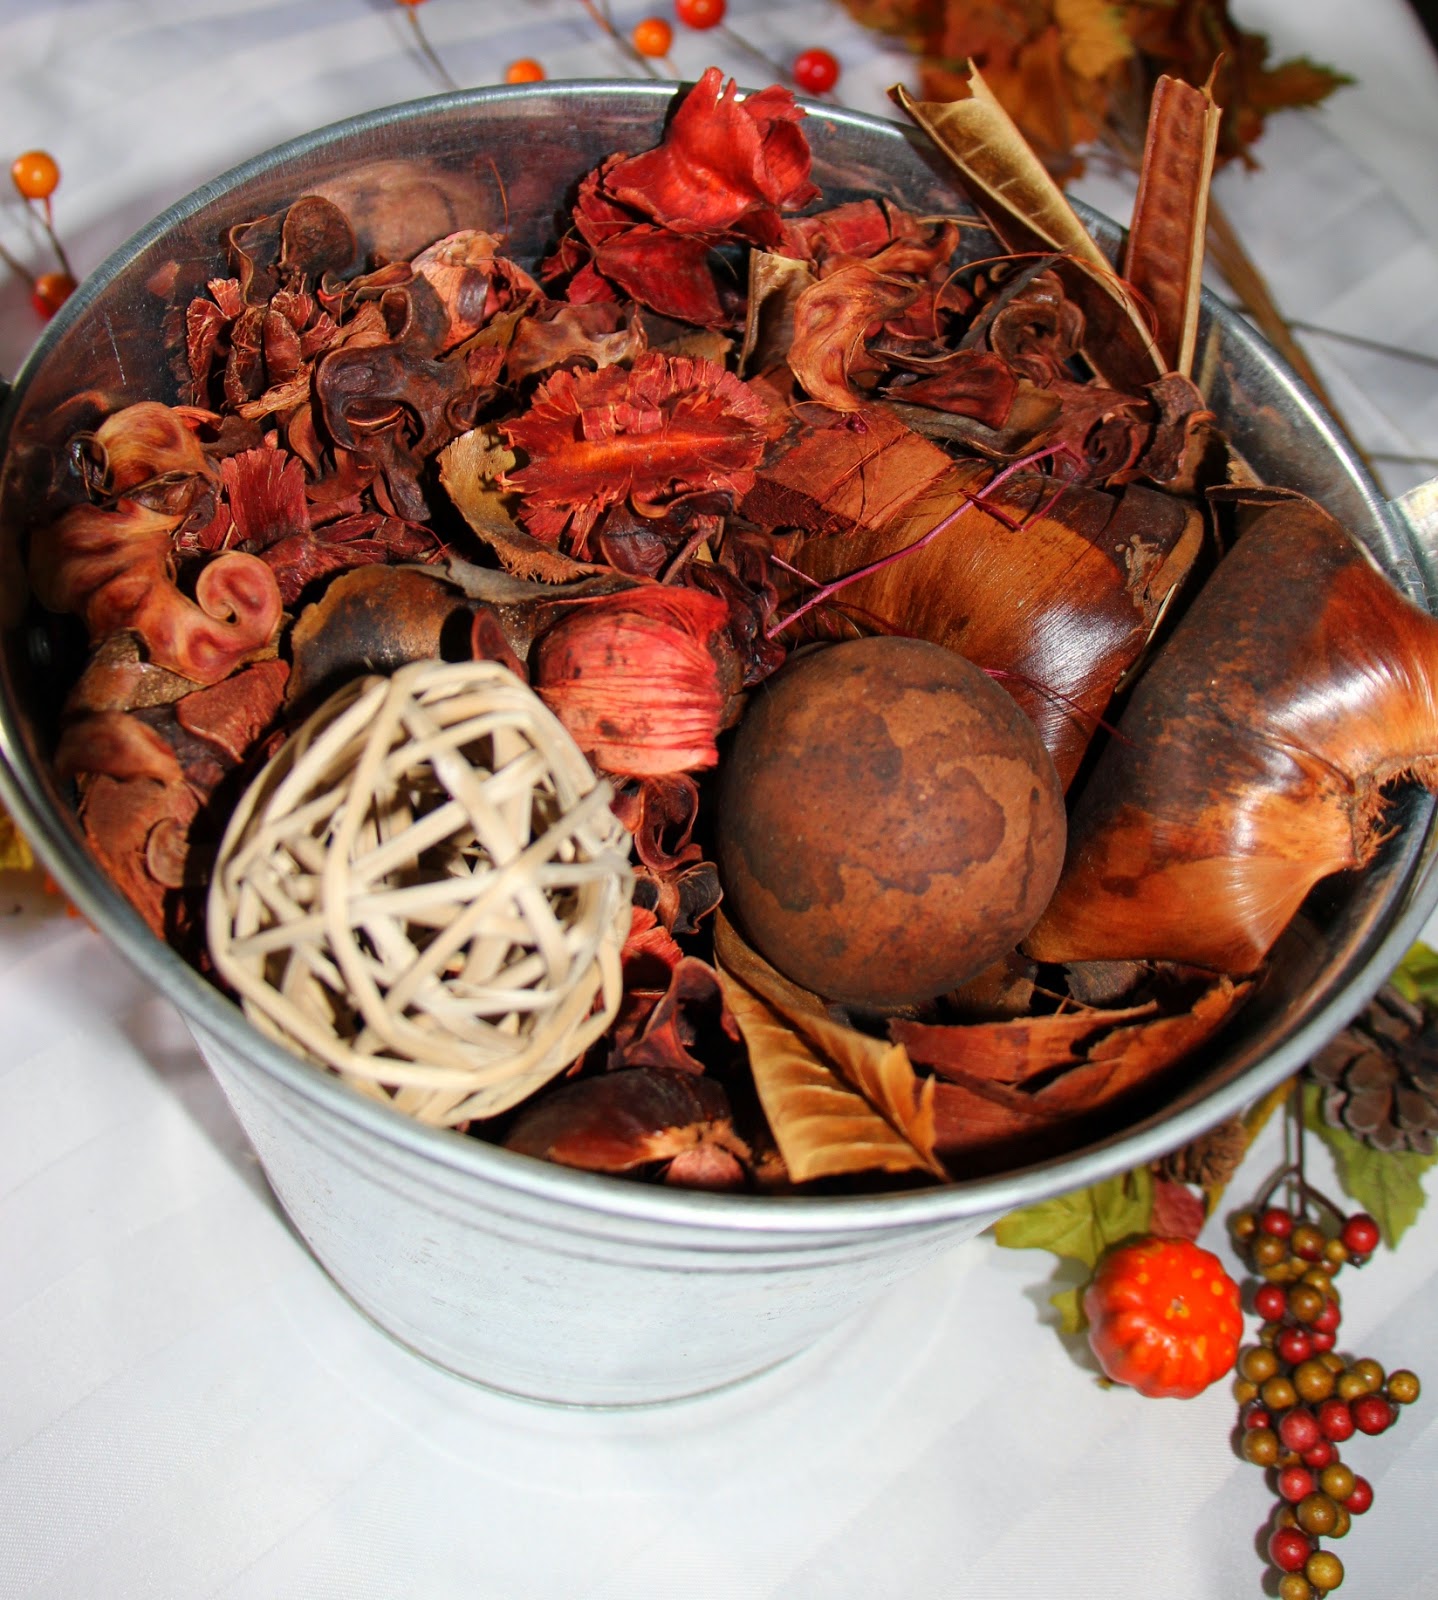
bag of potpourri
Directions
Fill the bottom of the bucket with the foam and cover with the potpourri.
Take each branch and insert directly into the foam. I wanted a shorter arrangement so I bent some of the sticks at the bottom before inserting.
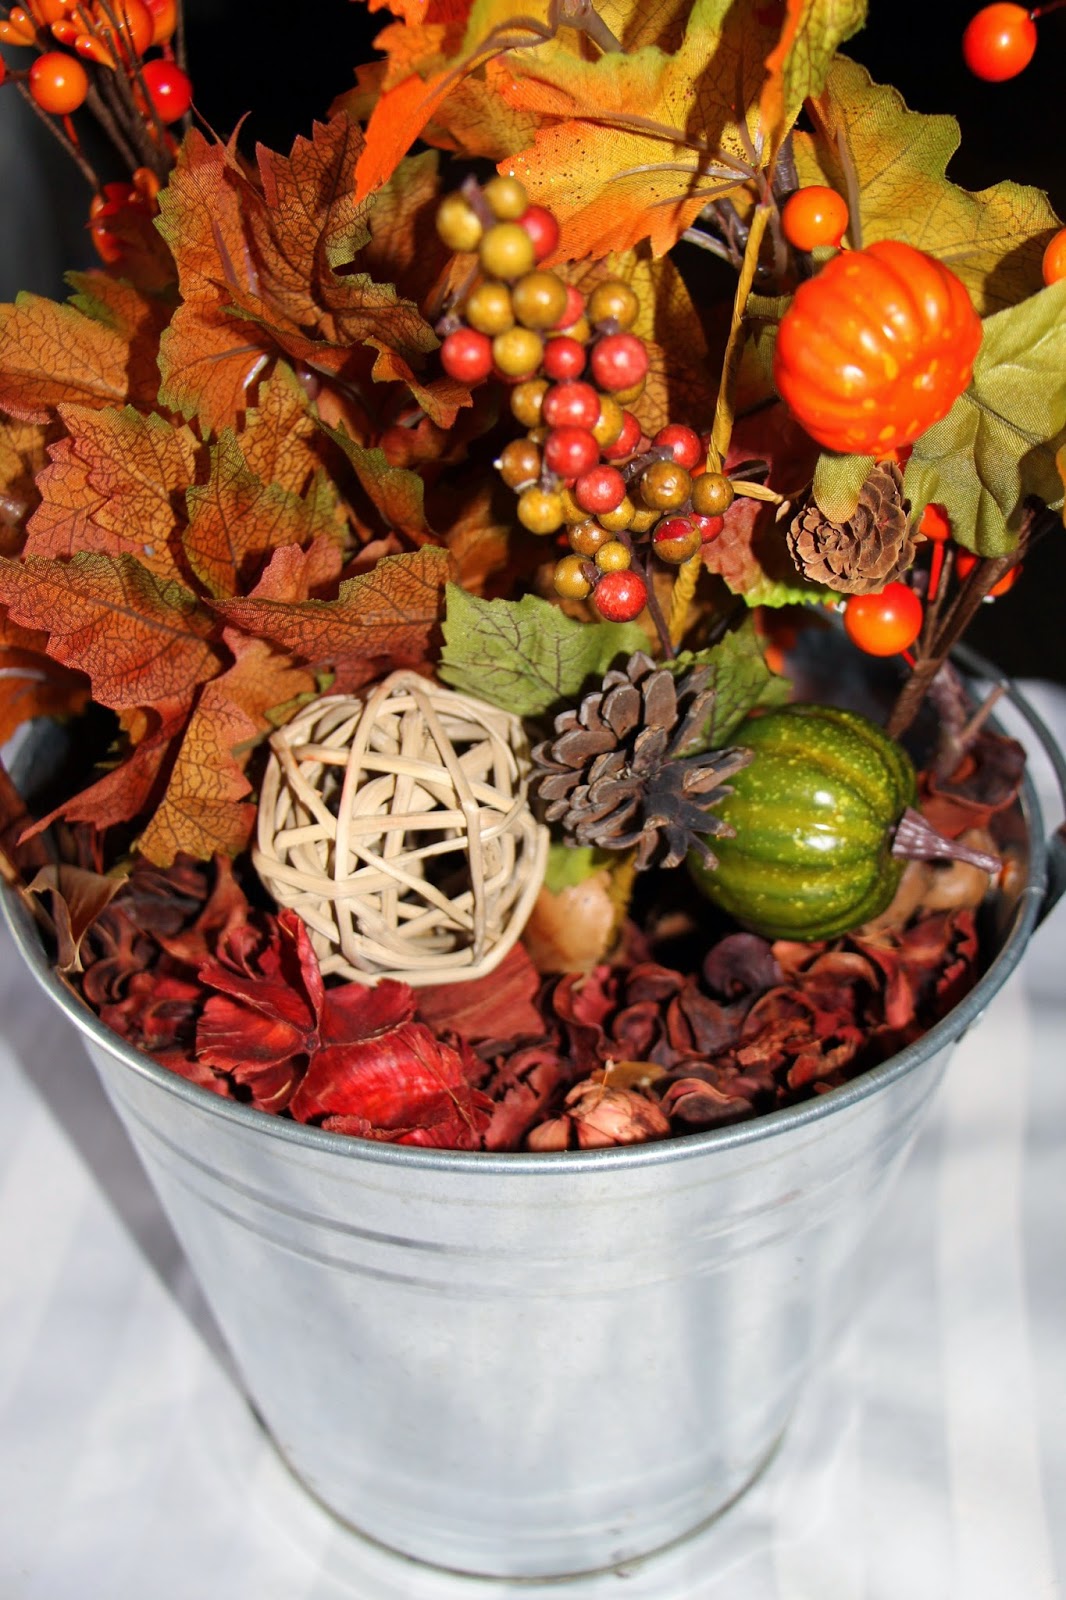
You may have to bend and move around some of the branches to ensure you have the right look you were going for. Keep adjusting until you love the look!
And voila!
We still have the same lantern that we bought previously so it looks great beside the bucket. Now to purchase some pumpkins to complete the look!
How do you update your outdoor decor for the seasons? Do you look for products that are easy to change up when the seasons change?