Category: crafts

DIY Hand Print Keepsake

My children are growing so fast – every time I look at them it feels like they have grown another inch! We wanted to capture them in this moment and decided to make hand print keepsakes to display in our home. It was the perfect holiday craft for our family – quick and simple! The boys loved it because they were able to get their hands nice and dirty although trying to get them to not paint each other was fun!

You Will Need:

  • paint
  • paintbrush
  • canvas print (8×10)
  • 8×10 frame

Using the paint colour your child has chosen (our boys wanted blue so blue it was) I painted their right hands applying a good amount of pain so that their hand was quite saturated with the paint.

One at a time, I took their hand and gently placed it on the canvas print. I gently put pressure on their hands to ensure the hand print would take to the canvas. You may have to help your little one to lift their hand back off of the canvas without smudging the print.

Allow the painting to dry, ours took roughly three hours to dry. I then placed it inside the 8×10 frame and hung it by our front door. Visitors love looking at their hands and this would be a fantastic gift for Grandparents!

Continue Reading

LEGO Door Hanger Crafts with Cathy Thinking Out Loud

Both of our boys have entered the phase where they like to decorate the door to their room in a fun and personalized way that represents them – from a Genius at Work to a Superhero at Work.

Cathy from Cathy Thinking Out Loud sent us these fantastic LEGO template door hangers for our boys to colour in and cut out to hang. They were super excited to personalize their LEGO mini figure to represent them (our youngest just went to town with the colouring!)

You Will Need:

  • white paper to print out template
  • pencil crayons or crayons
  • scissors
  • glue
  • Bristol board or cardboard paper

Directions:

1. Print out template:

2. Colour in template.


3. Cut out door hanger. Glue to bristol or cardboard paper.
4. Cut out the door hanger and Voila!
We hope you enjoy personalizing your own LEGO door hanger!
Continue Reading

Mother’s Day Note Pads

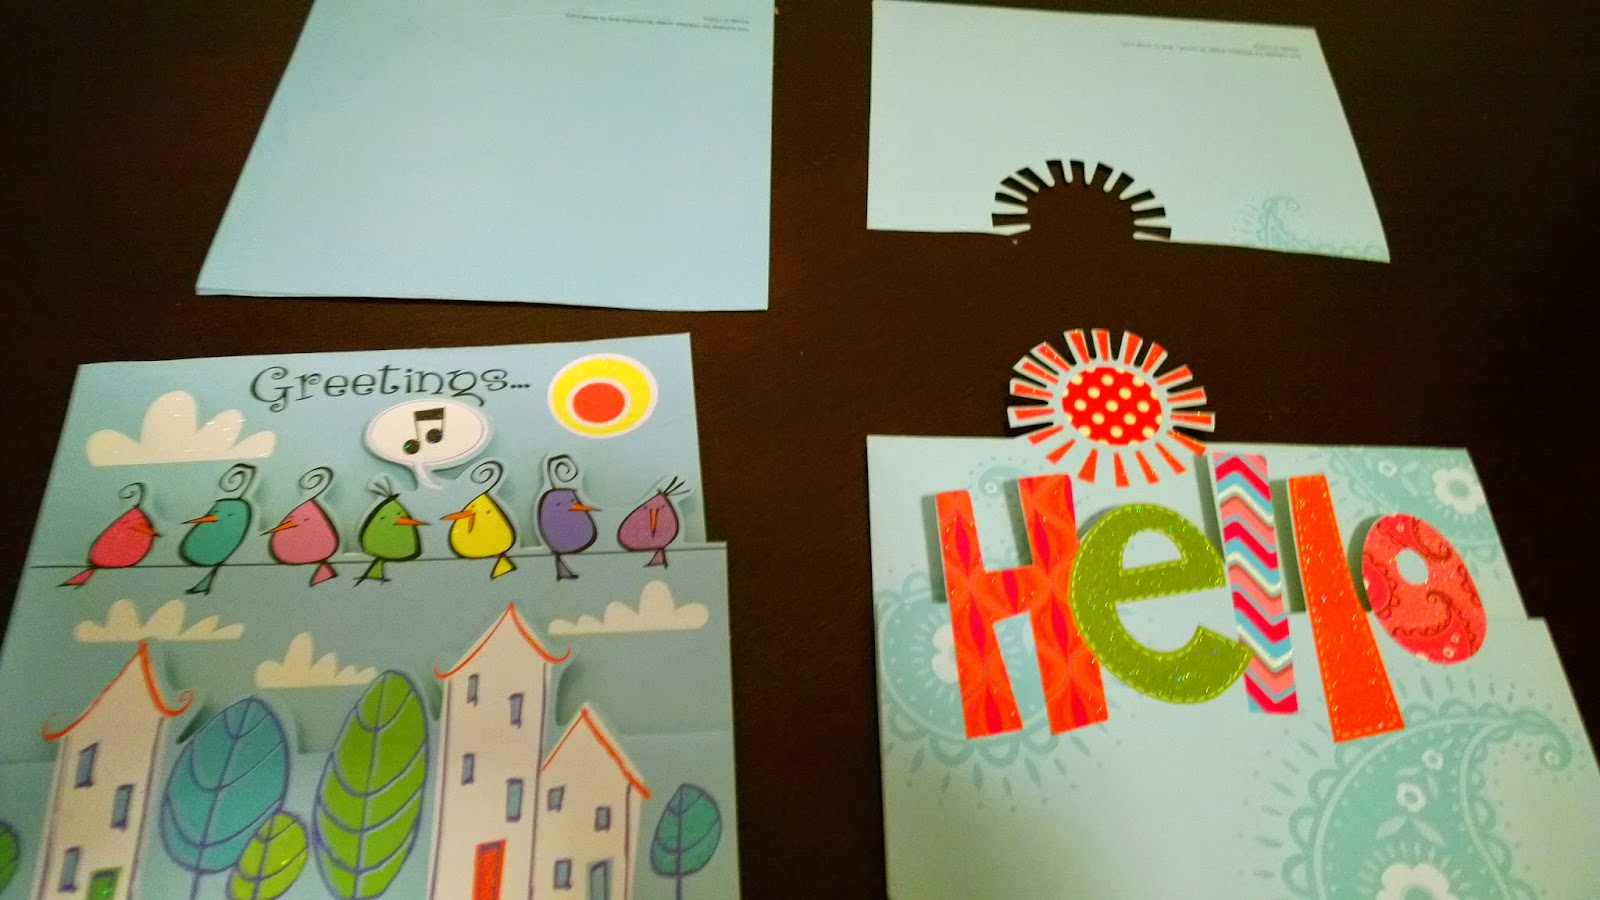
Do you end up with an abundance of cards every couple of months (especially after holidays and birthdays)? Not sure what to do with them but know that you want to keep them?

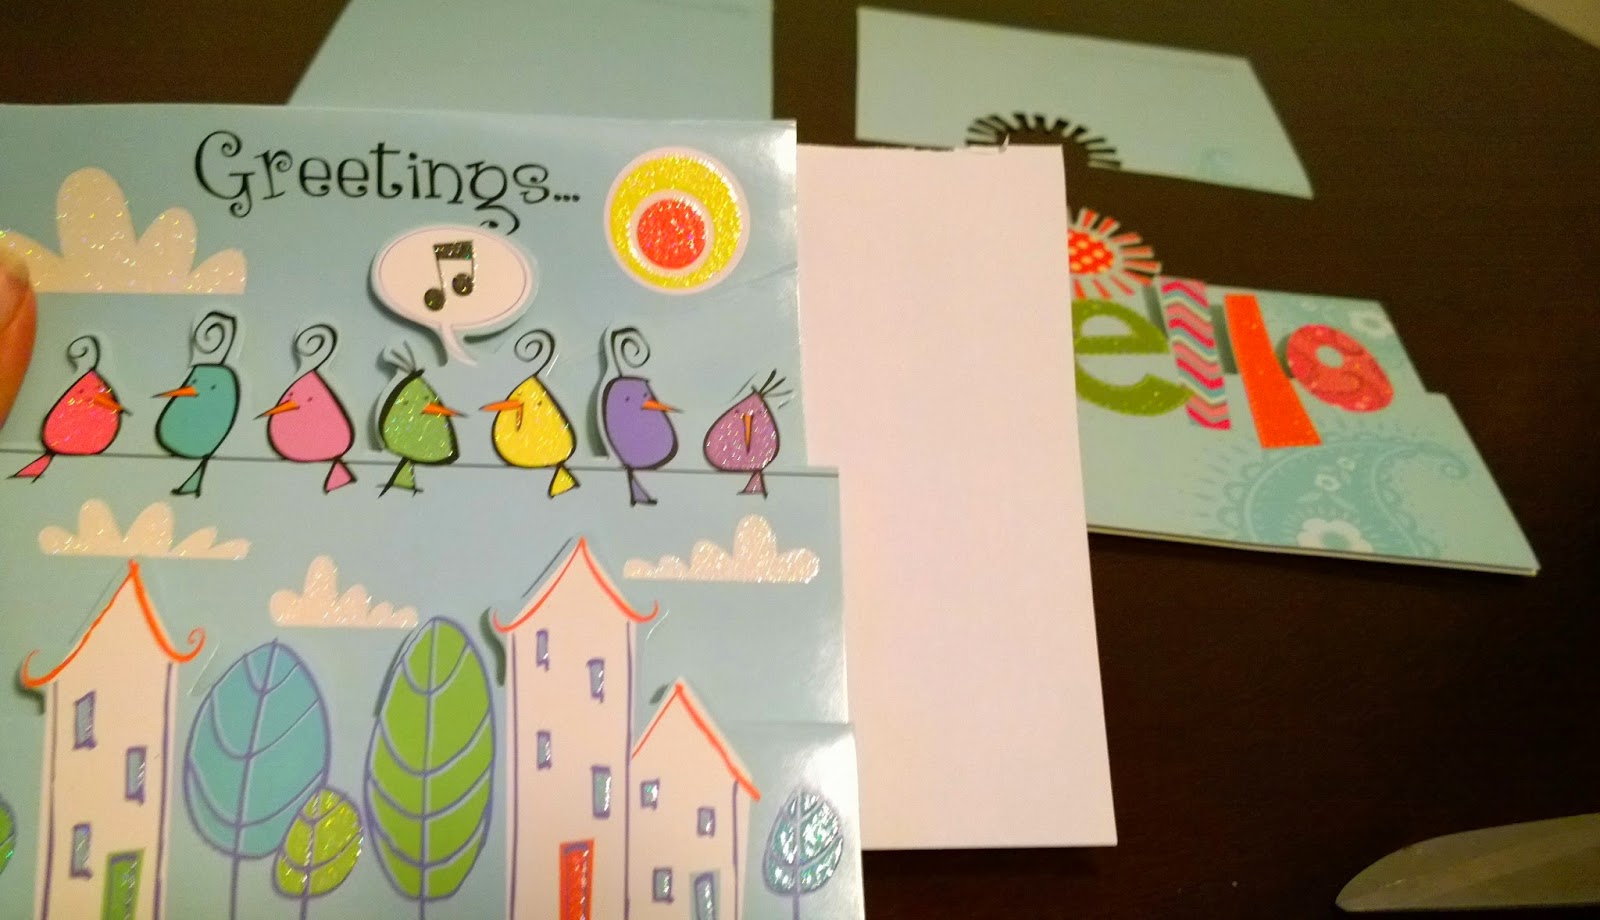
Cathy from Cathy Thinking Out Loud uses a very creative way to reuse those cards – by turning them in to note pads! Pretty neat right? Perfect solution for creating unique gifts, keeping the kids entertained at home and so much more!

You Will Need

  • cards that you would like to turn into a note pad (can be a birthday, thank you, greetings, etc..)
  • stapler
  • blank paper (or scrap paper you can reuse)


Directions

1. Cut the card along the folded line (to make a front and back cover).

2. Cut the blank paper so that it will fit in between the front and back cover.

3. Staple the note pad together. If you are really creative you can put holes into the note pad and tie off with a ribbon.


Continue Reading

Easy Easter Gifts

Its that time of year again -Easter! I like to put together our own little goodie basket for our kids to ensure it’s tailored to each of my boys and different each year.

To make these easy gift baskets you will need:
– beach pail (I prefer these over Easter baskets as they can use them all year long)
– filling
– tissue paper
– Easter eggs (empty)
– package of gummies,chocolate eggs or other treat your child likes
– Easter baggies
– small gift ($5-10/each)
– plastic wrap
– ribbon
Directions
1. Line the pails with tissue paper and place the filling at the bottom. 
2. Put gummies in the Easter bags and begin to add in the pails.
3. Fill the Easter eggs with chocolate eggs and add to the pails.
4. Wrap in clear plastic wrap and tie with a ribbon!

Do you celebrate Easter with small gifts? What do you like to gift?

Continue Reading

Easter Egg Holder Craft

I love making Easter eggs but I have a hard time displaying them – they end up broken if I put them in Easter baskets (not to mention the filling gets everywhere!) or they stay in a plastic bowl on the counter. This year we were determined to display our eggs proud!

Materials:
– tea box holder (Dollarama)
– hanging basket (Dollarama)
– paint and brushes
– coloured Easter eggs
– coloured filling
 
Instructions:

1. Remove any package stickers. Set aside prepared coloured Easter eggs.

2. Paint both the box and basket in desired colours. Allow to dry.
3. Fill with coloured filling. I used tissue paper as well inside each square to help with clean up.
4. Place Easter eggs inside and display!
We are planning on reusing the box and basket for more crafts during the spring and summer months!

How do you display your Easter eggs?

Continue Reading