Category: crafts

Easter Pop Up Card with Cathy Thinking Out Loud

Cathy from Cathy Thinking Out Loud has been at it again!

This time she has created cute Easter Pop Up Cards for your kids to send to family. Our boys made cards for both of their grandparents and their Aunts and Uncles. Their Mom kind of failed at making the beak pop up but you can always do the craft without making the beak move.

Materials

  • Blank white paper (as many sheets as cards you would like to make)
  • Pencil crayons or crayons
  • Scissors

Instructions:

  • Print out the easy template on blank white paper


  • Colour the egg and chick – including the reverse side of the page where the mouth will open (or if you chose to not have the mouth open you can leave the reverse side blank).
  • Fold the template in half both ways and then leave it folded length wise and cut the mouth of the beak. Fold the triangles up going in each direction. Alternatively you can just leave the beak closed with no pop up for the crafty challenged (like moi!).
  •  Place the card into the folded shape and bull beak up inside card so that the beak will pop up as you open the card.

And Voila! Enjoy!

Happy Easter!

Continue Reading

Go Fish! With Goldfish

A week ago, Cathy from Cathy Thinking Out Loud sent me a fantastic activity to play with my children after a conversation we had on Twitter. She created Goldfish Go Fish cards (from scratch I have to add!) for our boys to colour in, cut out and play. We have had so much fun playing with them that I had to share it with you!

For this activity you will need:

  • blank paper
  • construction paper (all the same colour, six sheets in total)
  • crayons or markers
  • scissors
  • glue


Directions:

  • Print out the sheet above. I have only included one of the Goldfish sheets so you can trace the outline of the fish shape and add the following names: cheddar, chocolate chip, chocolate, pretzel, pizza and vanilla cupcake.
  • Colour in the Goldfish.
  • Glue the sheet to a piece of construction paper and cut out in four.
  • Have fun playing Go Fish!


Continue Reading

Knights and Princesses: Crafts with Cathy ThinkingOutLoud

Sticking with our medieval theme this week, Cathy from Cathy Thinking Out Loud has brought us a fun craft to make with our little knights and princesses! Using the template ideas from below you can create stand up medieval characters for your children to play with.

You Will Need:

  • white blank paper
  • your choice of pencil crayons, crayons or paint
  • glue stick
  • Popsicle sticks (small ones)
  • scissors

Instructions

  1.  Print out or copy the figures at the beginning of the post.
  2.  Colour in the figure with your choice of crayons, markers or paint. Allow to dry.
  3. Cut out the shape. Fold the base in half.
  4. Attach two Popsicle sticks to the base and one along the middle pointing upwards.


Enjoy your Knight and Princess!

Continue Reading

Homemade Valentine’s Day Picture Frame Cards #shop #cbias

This Valentine’s Day craft is a part of the Valentine Crafts with Kids campaign for the Collective Bias® Social Fabric® Community. This shop & post have been compensated as a part of a social shopper amplification for #CollectiveBias and its advertiser. All opinions on this blog are my own.

Valentine's Day Picture Frame Cards #shop #cbias


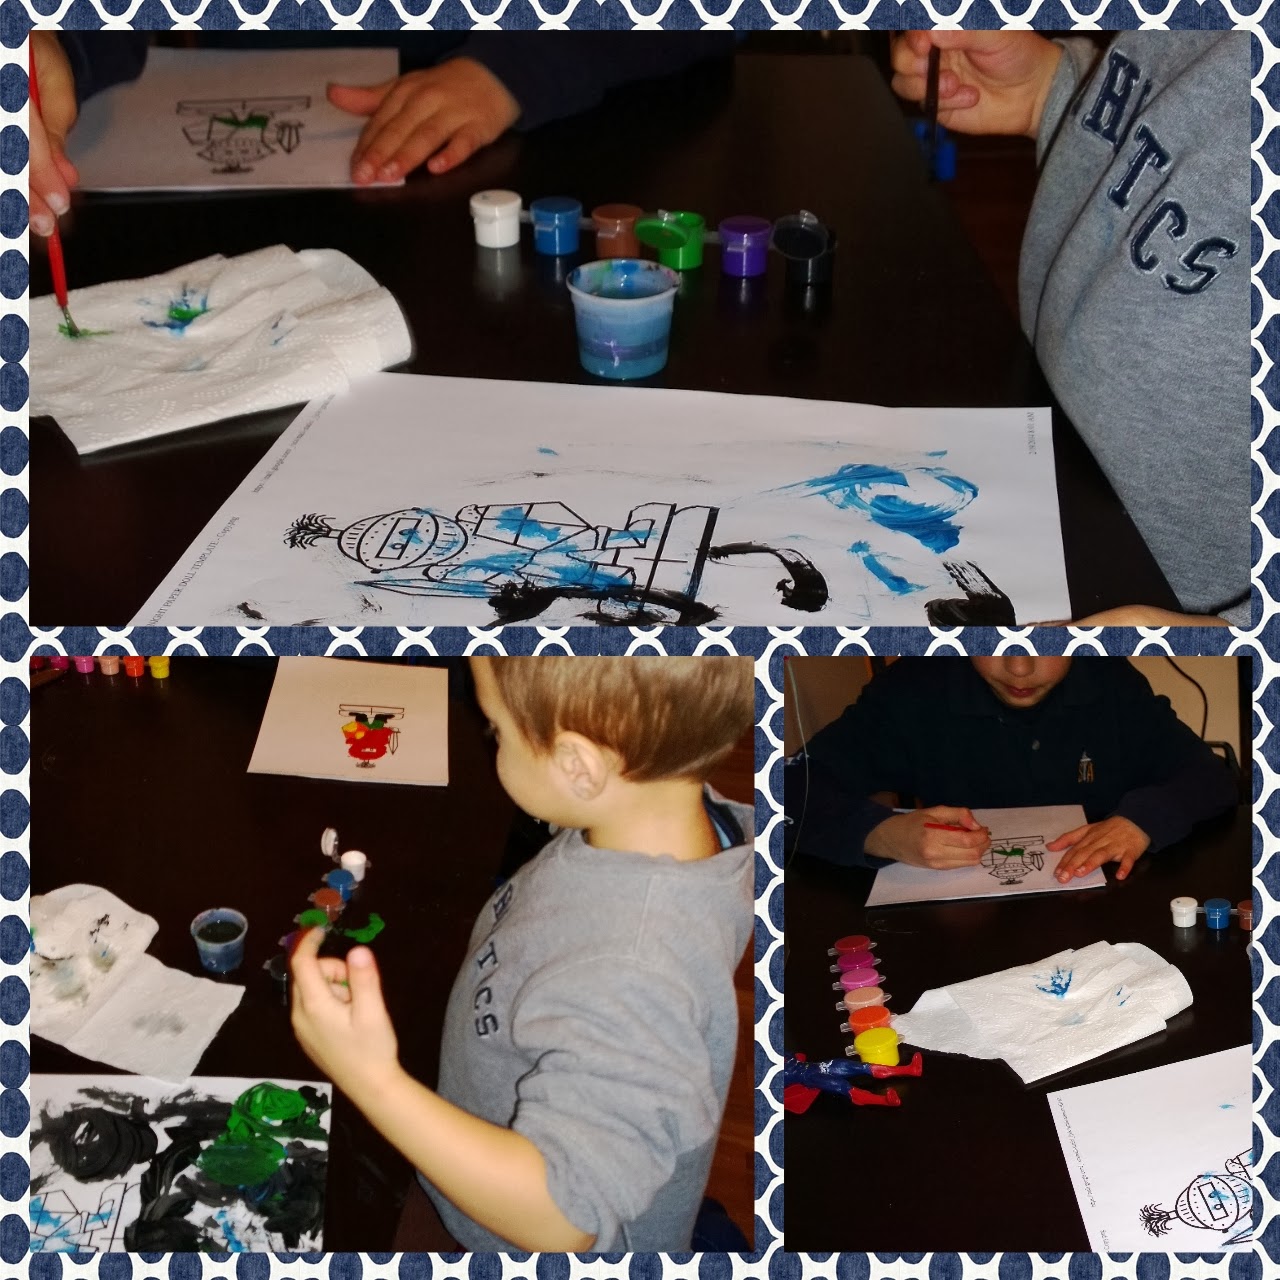
Craft time is always fun time in our house. We love spending hours painting, colouring and using crafts as a teaching tool. Crafts are important for developing fine motor skills in children, expressing their creativity and can also be used as a successful learning tool.

With Valentine’s Day quickly approaching we set upon the task of coming up with a creative way to send our loved ones Valentine’s Day cards for this #CollectiveBias campaign. We wanted something unique and different from the typical Valentine’s Day cards.

So what did we come up with? We decided to create picture frame cards! So we headed off to Walmart to explore their Art Supplies section.

Valentine's Day Picture Frame Cards #shop

There were so many craft supplies to choose from when we were there – the possibilities were endless. This is one of the reasons why I love shopping at our local Walmart. Our little one kept pulling everything off the shelves that he could get his little hands on he was that excited!

Valentine's Day Picture Frame Cards #shop

And now for our craft!

You Will Need:
Valentine's Day Picture Frame Cards #shop

Instructions:

1. Paint wooden frame with desired colours. You can also choose to make a pattern on the frame as well. To do so you must first outline the design on the frame with pencil lightly. Remember to paint the lighter paint on first. Allow the frame to dry.

Valentine's Day Picture Frame Cards #shop

2. Paint five of the small popsicle sticks in a different colour. Allow the sticks to dry.

3.  Write on two of the sticks, “Happy Valentine’s Day”, on one stick “2014” and on the final two sticks “I Love You, Love <insert your child’s name>. Make sure to use pen and not a marker as the marker will bleed.

Valentine's Day Picture Frame Cards #shop

4. Glue the sticks to the felt and cut the pieces out in an oval like shape.

Valentine's Day Picture Frame Cards #shop

5. Before gluing anything down, arrange all the material on the frame where you would like it to be placed. When you are happy with the design – start gluing! The Elmer’s felt stickers were awesome, you just have to peel off the back and place them down. Made the whole process so much simpler for my little ones.

6. Insert photo on the back of the picture frame.

Valentine's Day Picture Frame Cards #shop

Voila! A perfect Valentine’s Day card personalized just for your loved ones! 

Valentine's Day Picture Frame Cards #shop

Valentine’s Day is a special day for families, friends and partners. It is a day where we can go above and beyond to show those we love how much we appreciate having them in our life. A moment to slow down in our busy lives and truly live in the moment.

“Valentine, just a few words to tell you how I love you. I have loved you since the first day I saw you. Whenever that was.” — Charles M. Schulz

Continue Reading

“Watch My Love Grow” Children’s Craft with Cathy Thinking Out Loud

Have you met Cathy from Cathy Thinking Out Loud? She is a fantastic blogger, friend and parent! Her blog is full of parenting tricks and tips, travel advice, reviews and so much more! Cathy created this super fun craft to do with our kids! I made mine Valentine’s Day themed so that I could add it to their Valentine’s Day gifts but we will be making a whole bunch more!


To make this craft you will need:

snack sized Ziploc bags (bags needed will depend on the number of crafts you are making) or you can use the small baggies from the dollar store to create ‘pouches’ to tie on a necklace
bean seeds (these sprout the fastest and this will also depend on the number of crafts you are making)
cotton balls or pads (we used cotton pads)
coloured ribbon (if you are going to make the craft into a necklace make sure to have enough ribbon to make the necklace long enough)
Directions:
1. Soak a cotton swab and fold in half. Wet one bean seed and place directly on the swab.
2. Place the bean on the swab inside the snack sized Ziploc bag in the middle of the bag.
3. Seal the baggie ensuring there is no air left in it.
4. Poke a hole above the seal on the baggie with scissors.
5. Thread the ribbon through and tie.
6. Watch the bean grow!
When it starts to grow you can always transplant it to a pot or to your garden. I hope you enjoy this craft from Cathy! Simple, fun and frugal craft to do with your kids. To find more ideas from Cathy head over to her blog Cathy Thinking Out Loud.
Continue Reading