Category: crafts

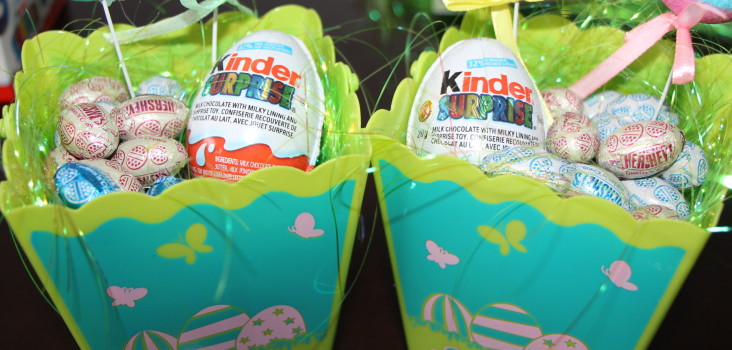
Go Fish – Easter Style!

Go Fish Easter Style!

Do you love a fun game of Go Fish? We certainly do especially on game night!

Why not spice up your game of Go Fish and take it to a whole new level, Easter egg style!

Cathy, from Cathy Thinking Out Loud, has put together these fantastic templates to help create your own game of Go Fish – Easter Style.

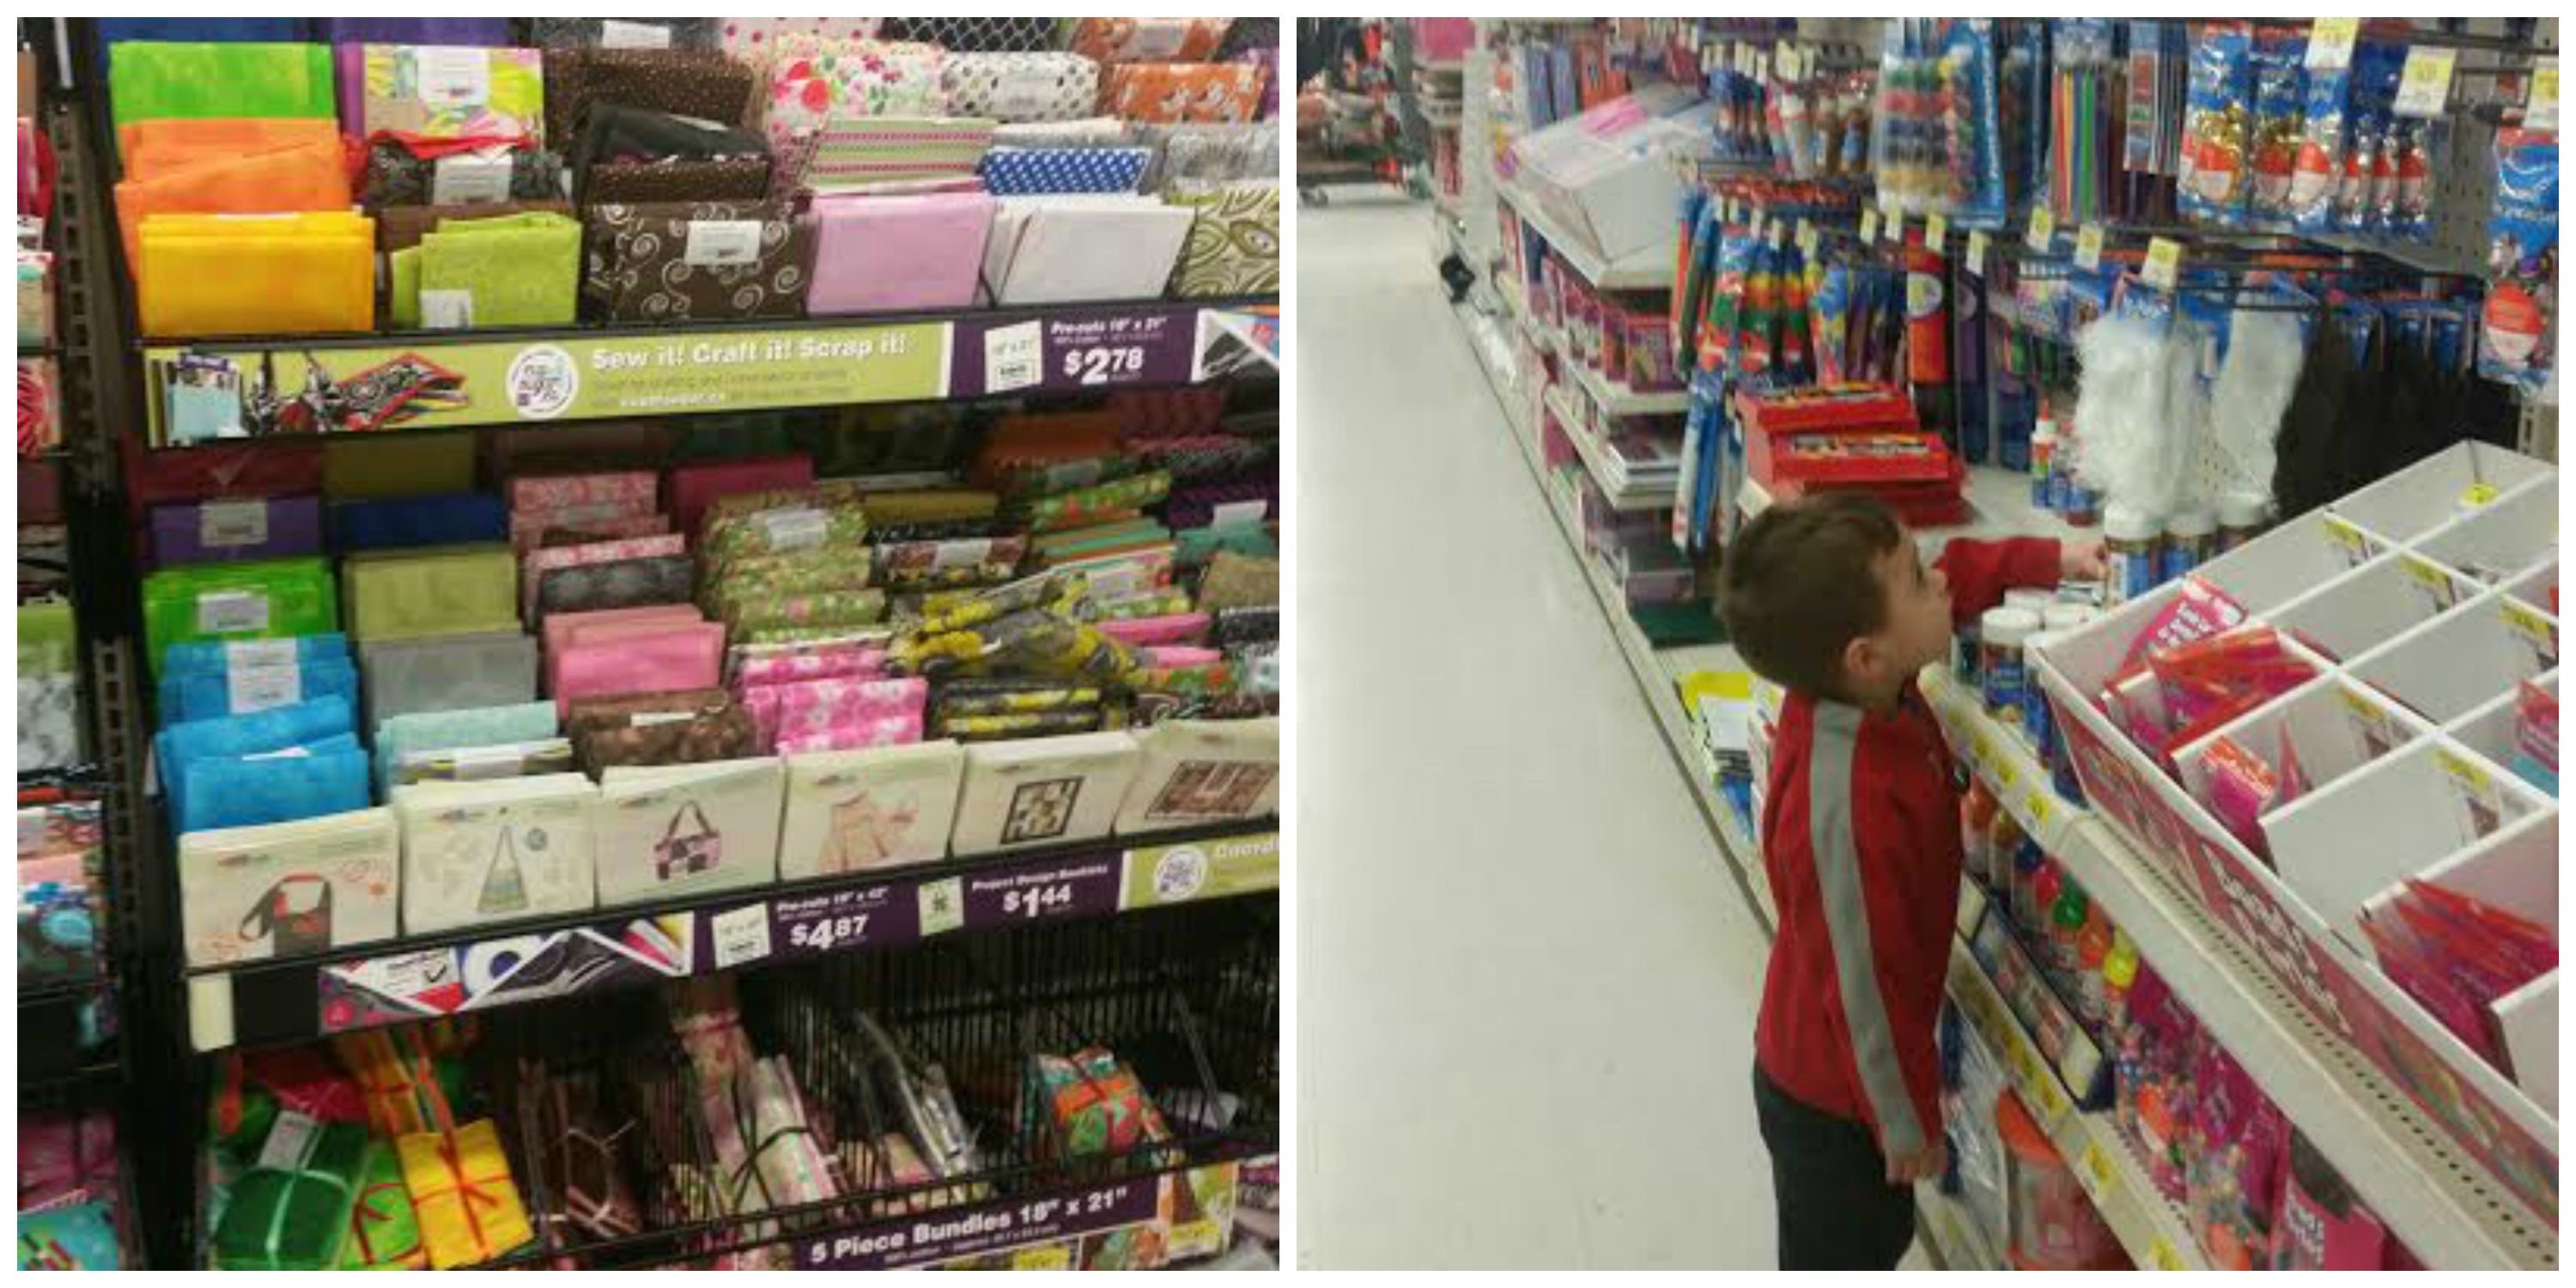
To put the cards together you will need:

  • printer paper
  • scissors
  • pencil crayons/crayons

Directions

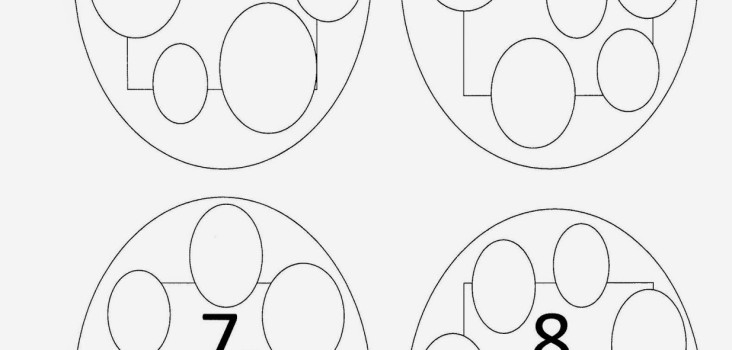
Print out the two templates below seven times each. This will give you a total of fifty-seven playing cards.

Have your child colour in the template including the card and egg. They can go with traditional Easter colours or choose to change it up a bit. Let their creativity shine through here.

Assist your child in cutting out the egg-shaped card. If they are too young you can do this for them.

Go Fish Easter Style!

Go Fish Easter Style!

After the cards are cut out, shuffle them up and get ready for an exciting new way of playing Go Fish!

As a refresher, the rules of the game are:

  • Minimum of two players
  • Five to seven (depending on how you play) cards are dealt to each player. The remainder of the cards are placed in one pile in the middle.
  • Choose a starting player (in our house it is always our youngest, hands down he wins each time!).
  • Each player should remove duplicates and place in their own pile (to keep track of how many cards they have).
  • The first player will choose another player and ask them “Do you have a <insert number>”. That player will either respond yes and give them the card or “no – go fish!” and they will have to pick up another card.
  • The game continues to the left and ends when all the cards have been used. The winner with the most amount of cards wins!
Continue Reading

Easy DIY Easter Baskets

Easy DIY Easter Baskets

One of my favourite things to put together during the Easter season are children’s Easter baskets. I love designing, decorating and choosing chocolates that they will love. Creating our own baskets allow us to tailor the items in the basket to their likes and creates a personal gift for them.

Easy DIY Easter Baskets

For this basket you will need:

  • Easter basket (I picked up mine from the Dollar Store – two baskets for $1)
  • small chocolate eggs (I chose Hershey’s cookies and creme)
  • Kinder Surprise Eggs
  • foam
  • green filling for the basket
  • styrofoam eggs (these came attached to a stick so it was easy to insert)

Easy DIY Easter Baskets

Directions:

Using a knife or scissors trace the bottom of the container on the foam to ensure it will fit in the bottom of your basket. Using a knife cut out the foam and place it in the bottom of your basket.

Easy DIY Easter Baskets

Fill the basket with the green filling to cover up the foam.

Easy DIY Easter Baskets

Insert the styrofoam eggs and place the Kinder egg in the basket.

Easy DIY Easter Baskets

Fill the basket with chocolate eggs (or another favourite of your child’s).

Easy DIY Easter Baskets

And voila – your basket is complete!

These are perfect for the little ones that come over during the holidays or a friend’s child. I have stopped buying the store packaged Easter baskets due to the quality of items included so these are great alternatives to store-bought baskets!

Do you make your own Easter baskets? What do you like to include?

Continue Reading

Handprint Tulips Canvas #DIY #Crafts

Hand Print Tulip Canvas

Easter is just around the corner and this is a perfect time to get your children ready by creating crafts and decorations to place around your home.

Hand Print Tulip Canvas

I stumbled upon this idea while on Pinterest (my favourite place to spend some time online!). I thought this would be the perfect craft to do with my children and it leaves a lasting memory of this time period to treasure later on.

For this project you will need:

  • large white canvas
  • yellow, blue and green paint
  • paint brushes

Hand Print Tulip Canvas

Directions:

Set up a clean area and lay your canvas on the table. Put out your paint and paint brushes. With a pencil roughly plan out where you would like to place your tulips.

Hand Print Tulip Canvas

Take your child’s hand and generously coat it with the desired paint.

Hand Print Tulip Canvas

Place your child’s hand on the canvas in the area you had set for the bloom of the tulip. You can alternate hands and paint colour to create a garden of tulips. In our case we alternated older/younger child’s hand. Wash up nicely!

Hand Print Tulip Canvas

Using the green paint, draw on a stem on each of the tulips.

Hand Print Tulip Canvas

You can create a garden bed or grass bed at the bottom of the canvas.

Hand Print Tulip Canvas

Allow your painting to dry. Once your painting is dry you can place the tulip canvas in a prominent place in your home. For us this was in our livingroom so that everyone could see their hands when they come to visit us.

Hand Print Tulip Canvas

This would also make a great gift for the Grandparents this Easter season!
What crafts have you started this season?

Continue Reading

Let’s Get Crafty with DIY Valentine’s Day Centre Pieces! #Ad

This shop has been compensated by Collective Bias, Inc. and its advertiser. All opinions are mine alone. #CollectiveBias

Craft time is one of the best ways to fit in quality family time. A time to be silly and to experiment with new ideas and let the kids just be themselves. The holiday’s are a perfect time to get in some extra crafts and Valentine’s Day is no exception in our home. Each year we try to design a new craft – something different and unique for our family.

valentine's-day

Since dinner time is important in our family (nothing beats that kind of bonding time!) and we have just recently started eating out in the dining room with our wedding dishes we thought a craft for our table would fit our family the best. Our table, while looking pretty with all the good dishes on it, was just looking plain:

valentine's-day

Boring right?

So we thought, what better way to spice up our table than with Valentine’s Day themed centre pieces! We envisioned candles, candy, vases and with this in mind we headed out to Walmart to find some key pieces for our centre piece.

valentines-Day

While I was checking out vases and supplies, our youngest son had the time of his life in the children’s crafting aisle – he would have fully stocked our cart if he was allowed to!

Valentine's-Day

For our Valentine’s Day centre piece craft we purchased (and you will need to purchase to replicate!):

  • two medium-sized candles and one large candle
  • two small square vases
  • fabric in a colour of your choosing
  • cinnamon hearts
  • glue gun and sticks
  • white rectangular candle holder (we actually used a white appetizer tray for our craft!)
  • heart stickers
  • Valentine’s Day themed ribbon
  • clear wrapping paper

valentine's-day

Start first with the small glass vases (since this was our kid’s favourite part!). Choose which stickers you want to apply on to the glass and apply the stickers directly onto the glass. Fill your glasses with the cinnamon hearts. Wrap them up with the clear wrapping paper and tie off in a bow with the ribbon.

valentine's-day

Cut the fabric into rectangular pieces. The length should be enough so that the fabric will stretch around the candle once and just slightly overlap.

valentine's-day

Using the glue gun, glue the under side of the left side of the fabric onto the top part of the right side of the fabric. Make sure that you are pulling the fabric tightly to ensure that it does not slip off the candle. Word of advice – don’t apply the glue from the glue gun directly onto the candle (yes, I can admit it – I made this mistake and completely blame the lack of coffee and pure exhaustion). Also be careful with those fingers! I managed to apply the glue directly onto my fingers – ouch!

valentine's-day

Now comes the best part – arrangement!

Place the three candles onto the white candle holder (or in our case the app tray). Place hearts around the candles.

valentine's-day

Voila! A beautifully Valentine’s Day themed decorated centre piece. The best part is that it can be changed and updated when the season changes.

valentine's-day

Because the children in our life play such an important role in our life and it is important to us to let them know we love them, we decided to use the vases as a place setting. We put each vase on the children’s plate and it was a wonderful companion to our centre piece and the kids loved their extra surprise.

IMG_1618

IMG_1614

How do you update your home decor to celebrate Valentine’s Day? Do you have a special craft that you like to make each year?

Continue Reading

DIY Christmas Advent Calendar

December 1st is just around the corner and every year we like to count down to Christmas Eve in a special way.

This year we made our own Advent calendar (along with their Kinder chocolate calendars – we can’t not have those ones!). We put together a list of all the activities we wanted to do together as a family before Christmas and began our new craft.

You will need:

  • Christmas bowl, basket or bucket
  • 24 candy canes
  • white paper (or a colour of your own choosing)
  • ribbon
  • hole puncher
  • scissors

Directions

Print out your choice of daily activities for the month. Some of them we repeated (like the crafts, cookie baking and colouring).

Cut out each item into a rectangular shape. Fold the paper in half. Using a hole punch put a hole in the top left corner.

Cut out twenty four equal lengths of ribbon.

Thread the ribbon through each rectangular note and tie each one onto one candy cane for a total of twenty four times.

Number each note making sure you are being realistic with what you will be able to accomplish for each day of the month – we knew we wouldn’t be able to build a gingerbread house during the week so these activities were saved for the weekend.

After they are numbered place them decoratively in your bin or basket and display in a prominent place in your home.

Ideas for your family activities (we repeated a couple of these because they are so much fun!):

  • write a Santa letter and mail
  • make homemade tree ornaments
  • bake cupcakes 
  • colour in a Christmas colouring book
  • watch a Christmas movie with popcorn
  • read Christmas books together
  • bake Christmas cookies
  • put together a Christmas gift for our teacher
  • build a gingerbread house together
  • visit Santa Claus
  • have a Christmas-sing-a-long
  • bake cookies for Santa
  • hot chocolate and movie night
  • wrap family gifts
  • put on a Christmas play at home
  • crafts together

Most importantly – have fun with your ideas! How do you like to count down to Christmas?

Continue Reading