Category: DIY

DIY Front Door Decor

I wanted to add some flair to our front porch but didn’t want to spend too much. So after spending hours scanning Pinterest (my poor hubby!) I finally put together several designs and headed out to pick up some supplies for my own DIY front door decor. I am not too big on floral designs so I chose something that included more greenery and a slight pop of colour.

For this project you will need:

  • metal bucket (I picked ours up at the Dollar Store and I love it!)
  • bag of potpourri (I also purchased this from the Dollar Store)
  • stems of greenery, flowers if you would like at least two feet in length (you can trim them down to size)
  • foam to stick the stems in to (I tried to use Styrofoam balls – it can work but it was difficult!)
  • lantern in your desired colours (I chose black to match our new rails)
  • scissors

Directions:

  • Arrange your floral and greenery as you would like it look while standing. Trim the stems to your desired length (I only took off a couple of inches as I wanted the arrangement to be at least two feet high off the ground). Place the foam in the bottom of the bucket and firmly stick the stems in the foam. 

  • Add the potpourri around the stems.

  • Remove any labels from your lantern.

  • Arrange your bucket and lantern by your front door. You can now play with the floral and greenery moving and bending them to fall as you see fit. We also updated our front porch by painting our railings black and it really made the front porch pop (we used to have white railings).

Continue Reading

LEGO Door Hanger Crafts with Cathy Thinking Out Loud

Both of our boys have entered the phase where they like to decorate the door to their room in a fun and personalized way that represents them – from a Genius at Work to a Superhero at Work.

Cathy from Cathy Thinking Out Loud sent us these fantastic LEGO template door hangers for our boys to colour in and cut out to hang. They were super excited to personalize their LEGO mini figure to represent them (our youngest just went to town with the colouring!)

You Will Need:

  • white paper to print out template
  • pencil crayons or crayons
  • scissors
  • glue
  • Bristol board or cardboard paper

Directions:

1. Print out template:

2. Colour in template.


3. Cut out door hanger. Glue to bristol or cardboard paper.
4. Cut out the door hanger and Voila!
We hope you enjoy personalizing your own LEGO door hanger!
Continue Reading

Mother’s Day Note Pads

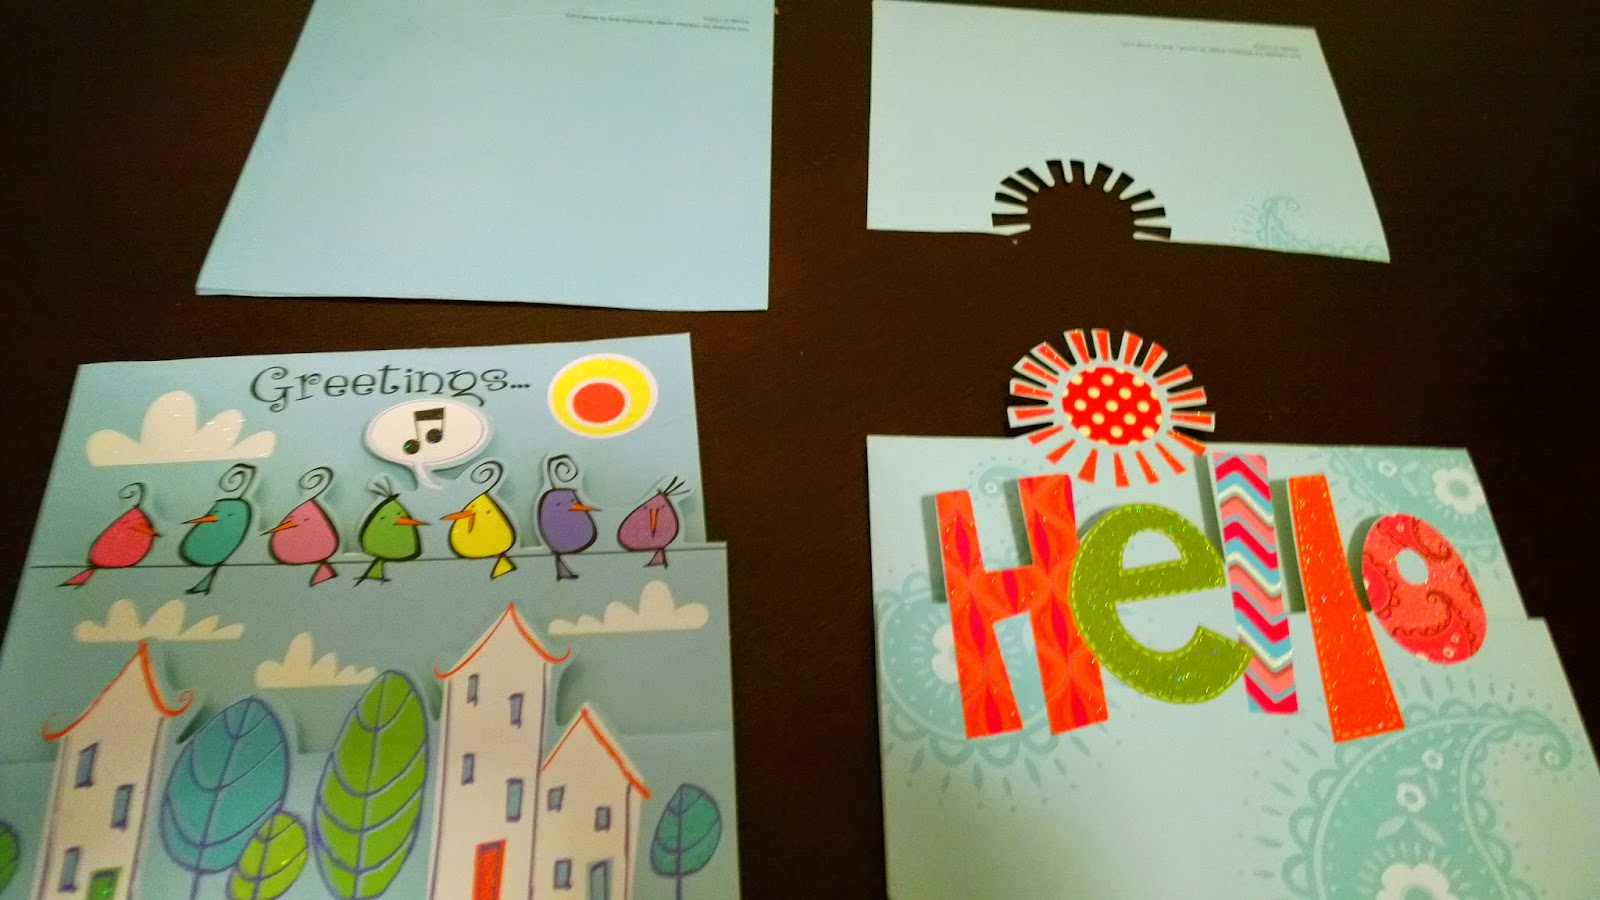
Do you end up with an abundance of cards every couple of months (especially after holidays and birthdays)? Not sure what to do with them but know that you want to keep them?

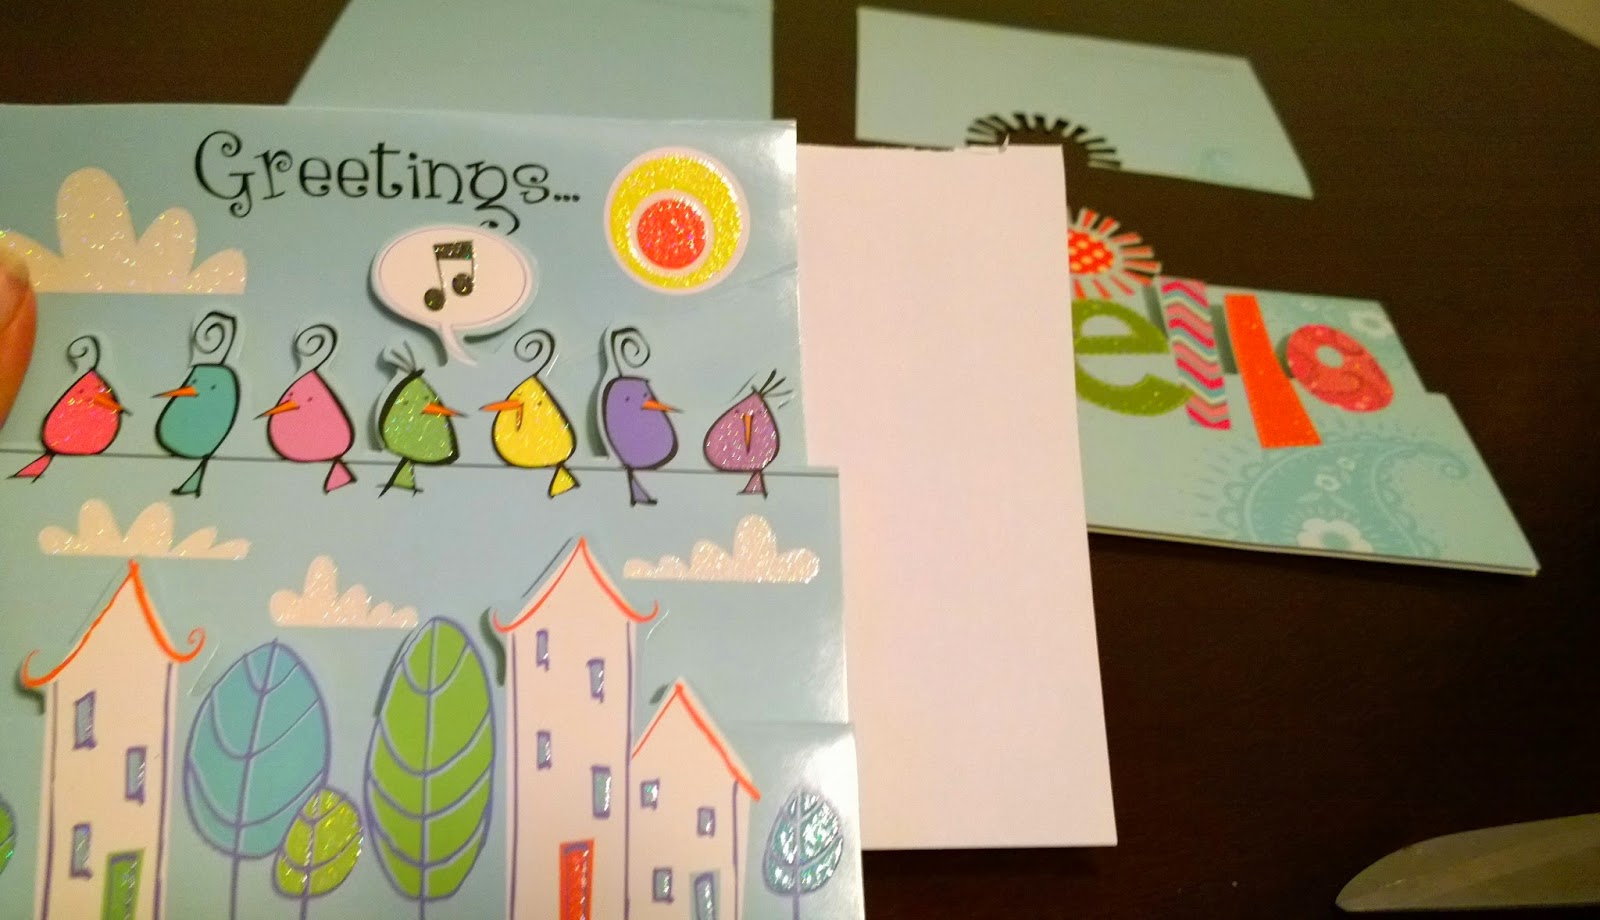
Cathy from Cathy Thinking Out Loud uses a very creative way to reuse those cards – by turning them in to note pads! Pretty neat right? Perfect solution for creating unique gifts, keeping the kids entertained at home and so much more!

You Will Need

  • cards that you would like to turn into a note pad (can be a birthday, thank you, greetings, etc..)
  • stapler
  • blank paper (or scrap paper you can reuse)


Directions

1. Cut the card along the folded line (to make a front and back cover).

2. Cut the blank paper so that it will fit in between the front and back cover.

3. Staple the note pad together. If you are really creative you can put holes into the note pad and tie off with a ribbon.


Continue Reading

Easter Egg Holder Craft

I love making Easter eggs but I have a hard time displaying them – they end up broken if I put them in Easter baskets (not to mention the filling gets everywhere!) or they stay in a plastic bowl on the counter. This year we were determined to display our eggs proud!

Materials:
– tea box holder (Dollarama)
– hanging basket (Dollarama)
– paint and brushes
– coloured Easter eggs
– coloured filling
 
Instructions:

1. Remove any package stickers. Set aside prepared coloured Easter eggs.

2. Paint both the box and basket in desired colours. Allow to dry.
3. Fill with coloured filling. I used tissue paper as well inside each square to help with clean up.
4. Place Easter eggs inside and display!
We are planning on reusing the box and basket for more crafts during the spring and summer months!

How do you display your Easter eggs?

Continue Reading

Easter Pop Up Card with Cathy Thinking Out Loud

Cathy from Cathy Thinking Out Loud has been at it again!

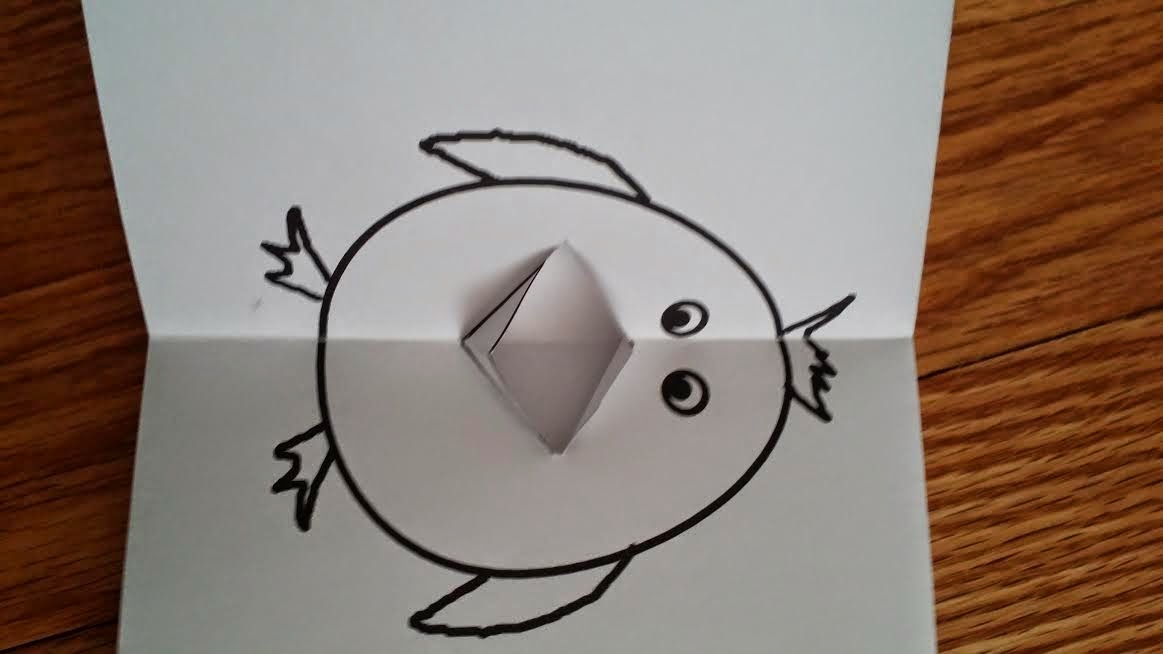
This time she has created cute Easter Pop Up Cards for your kids to send to family. Our boys made cards for both of their grandparents and their Aunts and Uncles. Their Mom kind of failed at making the beak pop up but you can always do the craft without making the beak move.

Materials

  • Blank white paper (as many sheets as cards you would like to make)
  • Pencil crayons or crayons
  • Scissors

Instructions:

  • Print out the easy template on blank white paper


  • Colour the egg and chick – including the reverse side of the page where the mouth will open (or if you chose to not have the mouth open you can leave the reverse side blank).
  • Fold the template in half both ways and then leave it folded length wise and cut the mouth of the beak. Fold the triangles up going in each direction. Alternatively you can just leave the beak closed with no pop up for the crafty challenged (like moi!).
  •  Place the card into the folded shape and bull beak up inside card so that the beak will pop up as you open the card.

And Voila! Enjoy!

Happy Easter!

Continue Reading